We all know the expression “a picture is worth a thousand words.” In ecommerce, a picture is worth money as well. But how do you take pictures that scream “buy me” if you don’t know the first thing about photography? Don’t worry! Read on to find out.
Types of Product Photography
Product pages, ads, and other website pages need a variety of product shots to give viewers a full idea of the product. Here are a few to include:
-
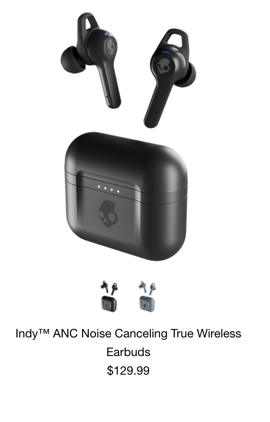
Individual Shots
An individual shot is what it sounds like: a picture of one product on its own. It’s the most common type of product photo because it’s used whenever you need to showcase just one product. Think catalogs and product pages. Here's an example from Skullcandy.
-
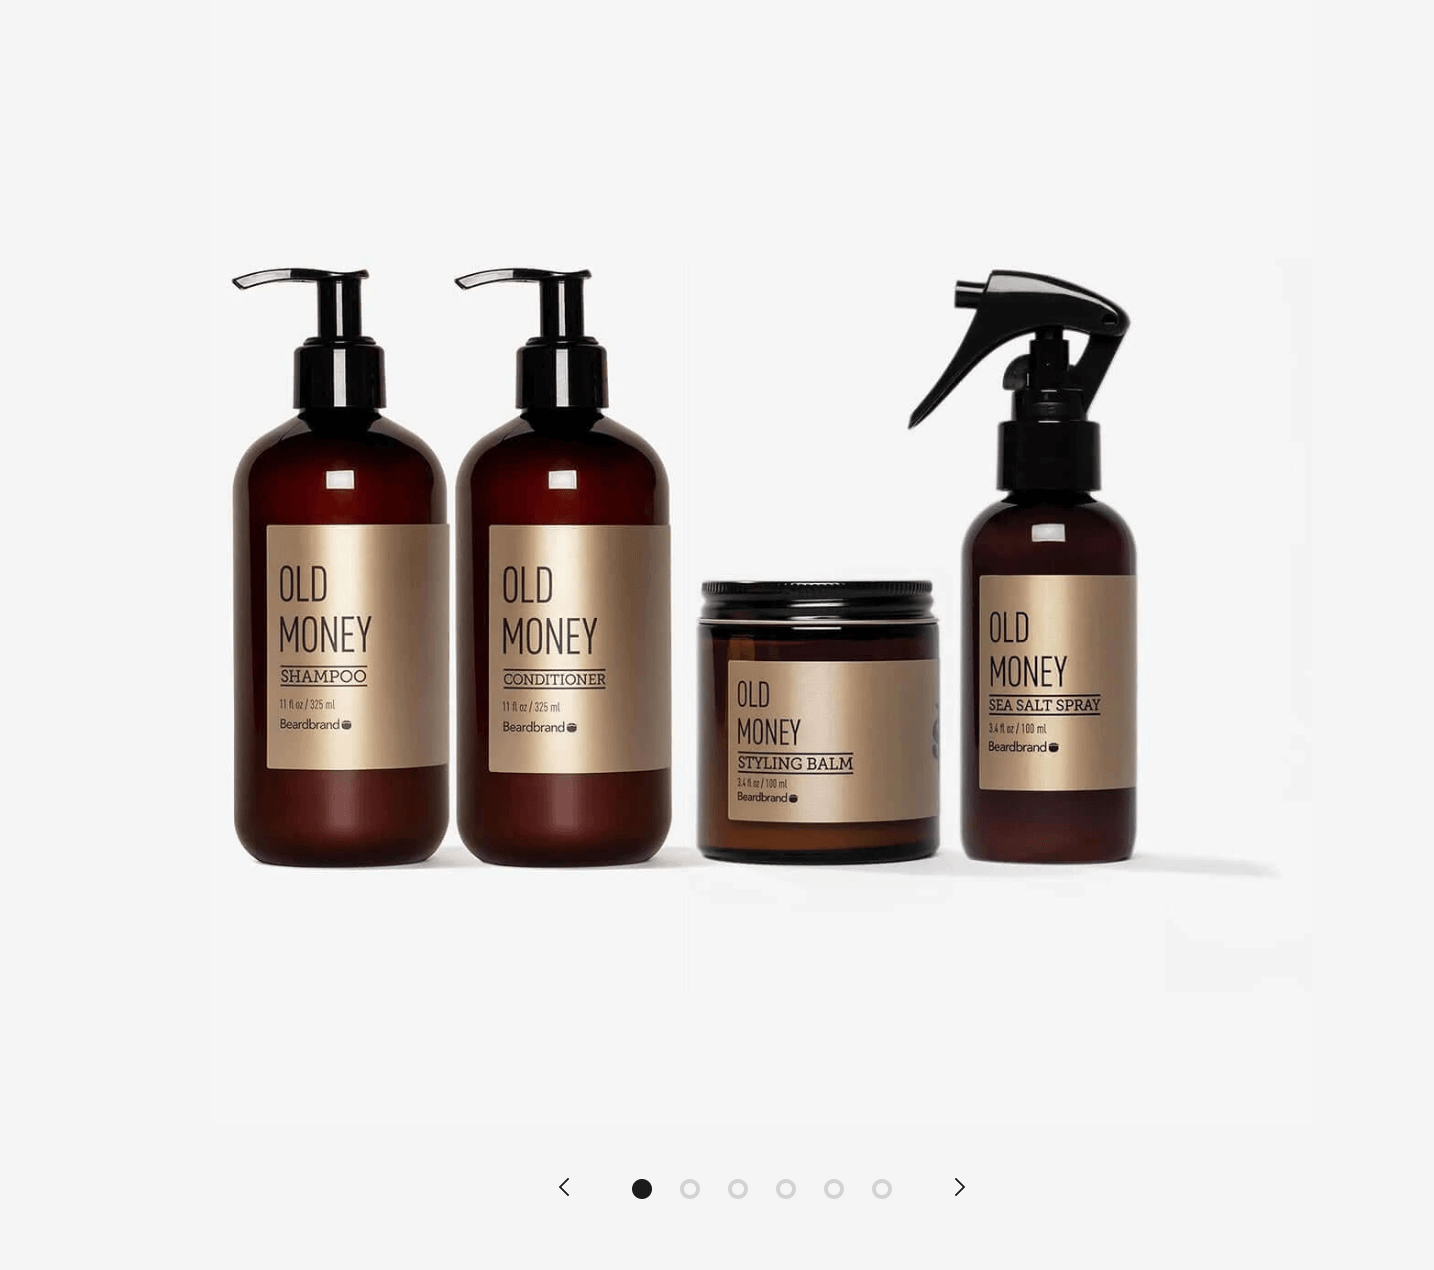
Group shots
Group shots are also what they sound like: multiple different products together. They’re usually used to showcase product kits and collections or for giving customers an idea of your offerings’ range. Group shots are a great fit for ads, particularly on social media. Here's an example from Beardbrand.
-
Lifestyle shots
Lifestyle shots show how your product would be used in real life. They’re a great addition for product pages, social media, and email campaigns. Here's an example from Allbirds.

-
Scale shots
It can be hard to tell how big a product is from an image alone. This is where scale shots come in handy. They show the product next to an everyday item for scale. Here's an example from Ivory Soap.

-
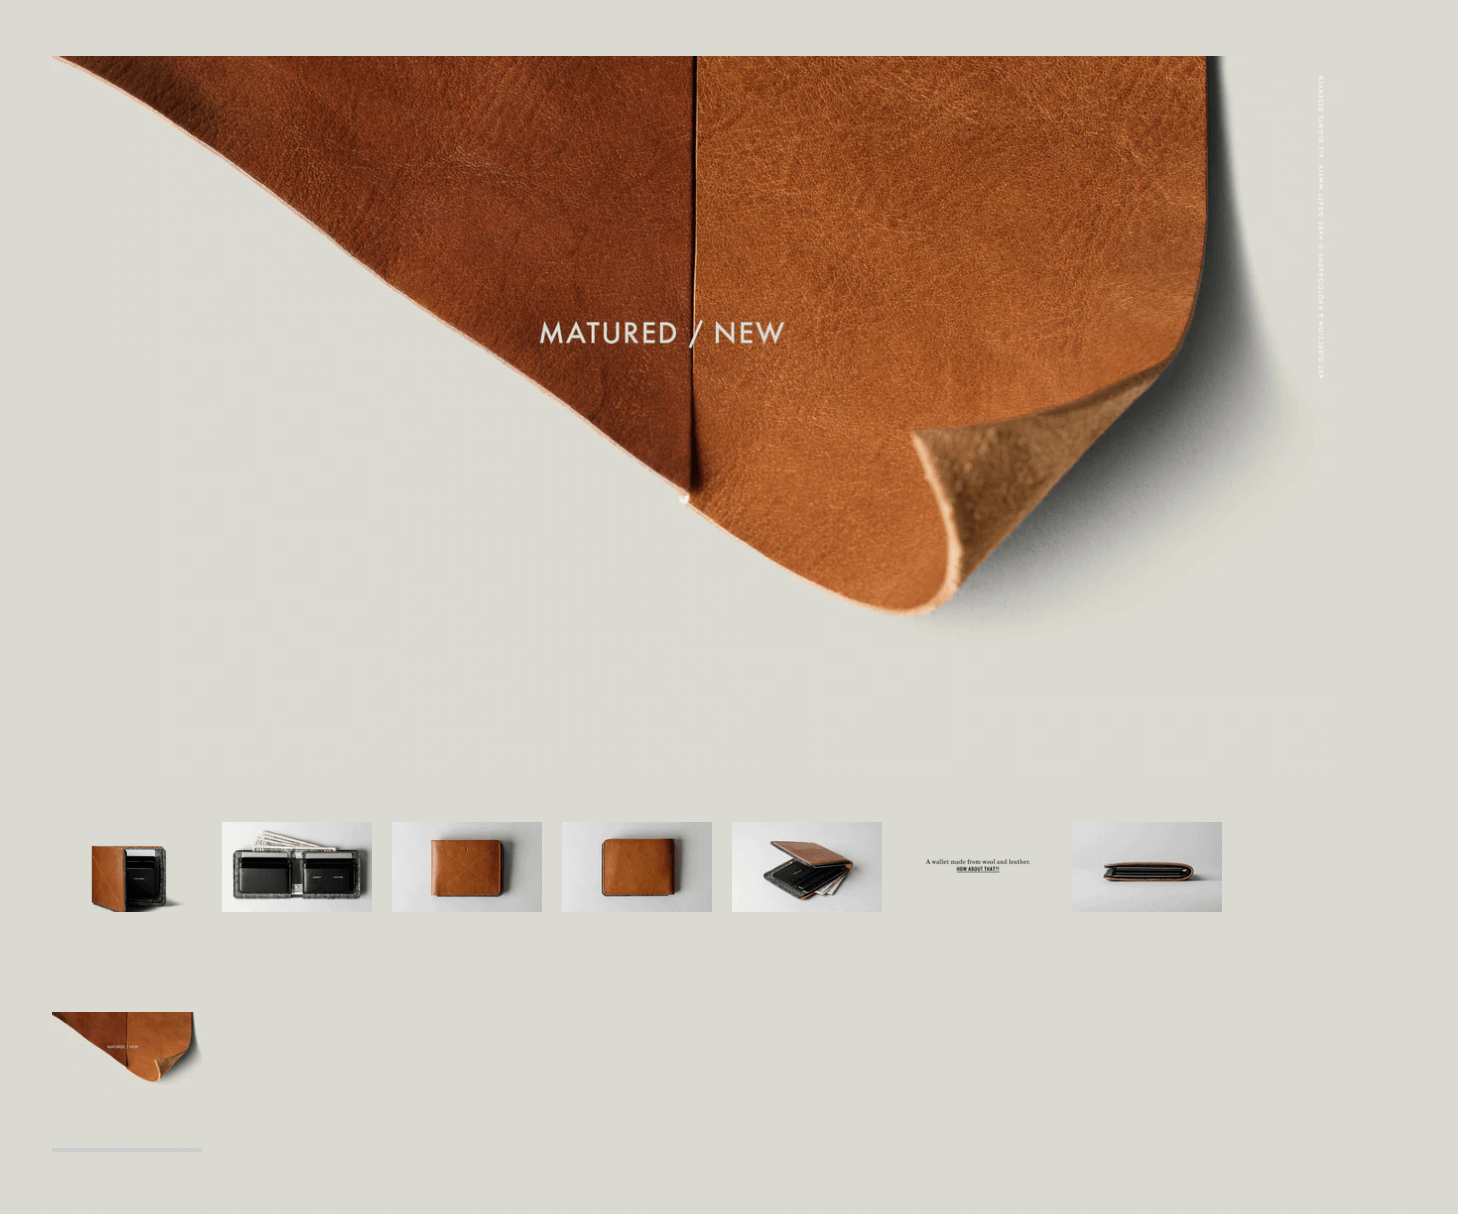
Detailed shots
A close-up shot is a great addition to product pages for items that have details a standard image can’t capture. Here's an example from Hardgraft.
-
Packaging shots
If you use cool branded packaging, why not include it in the product page? Customers care about presentation as well as the products themselves. Here's an example from Green Roads.

Photography Equipment
You don’t need to get too fancy right away to take good photos, but your phone camera and a bed sheet might not quite make the cut.
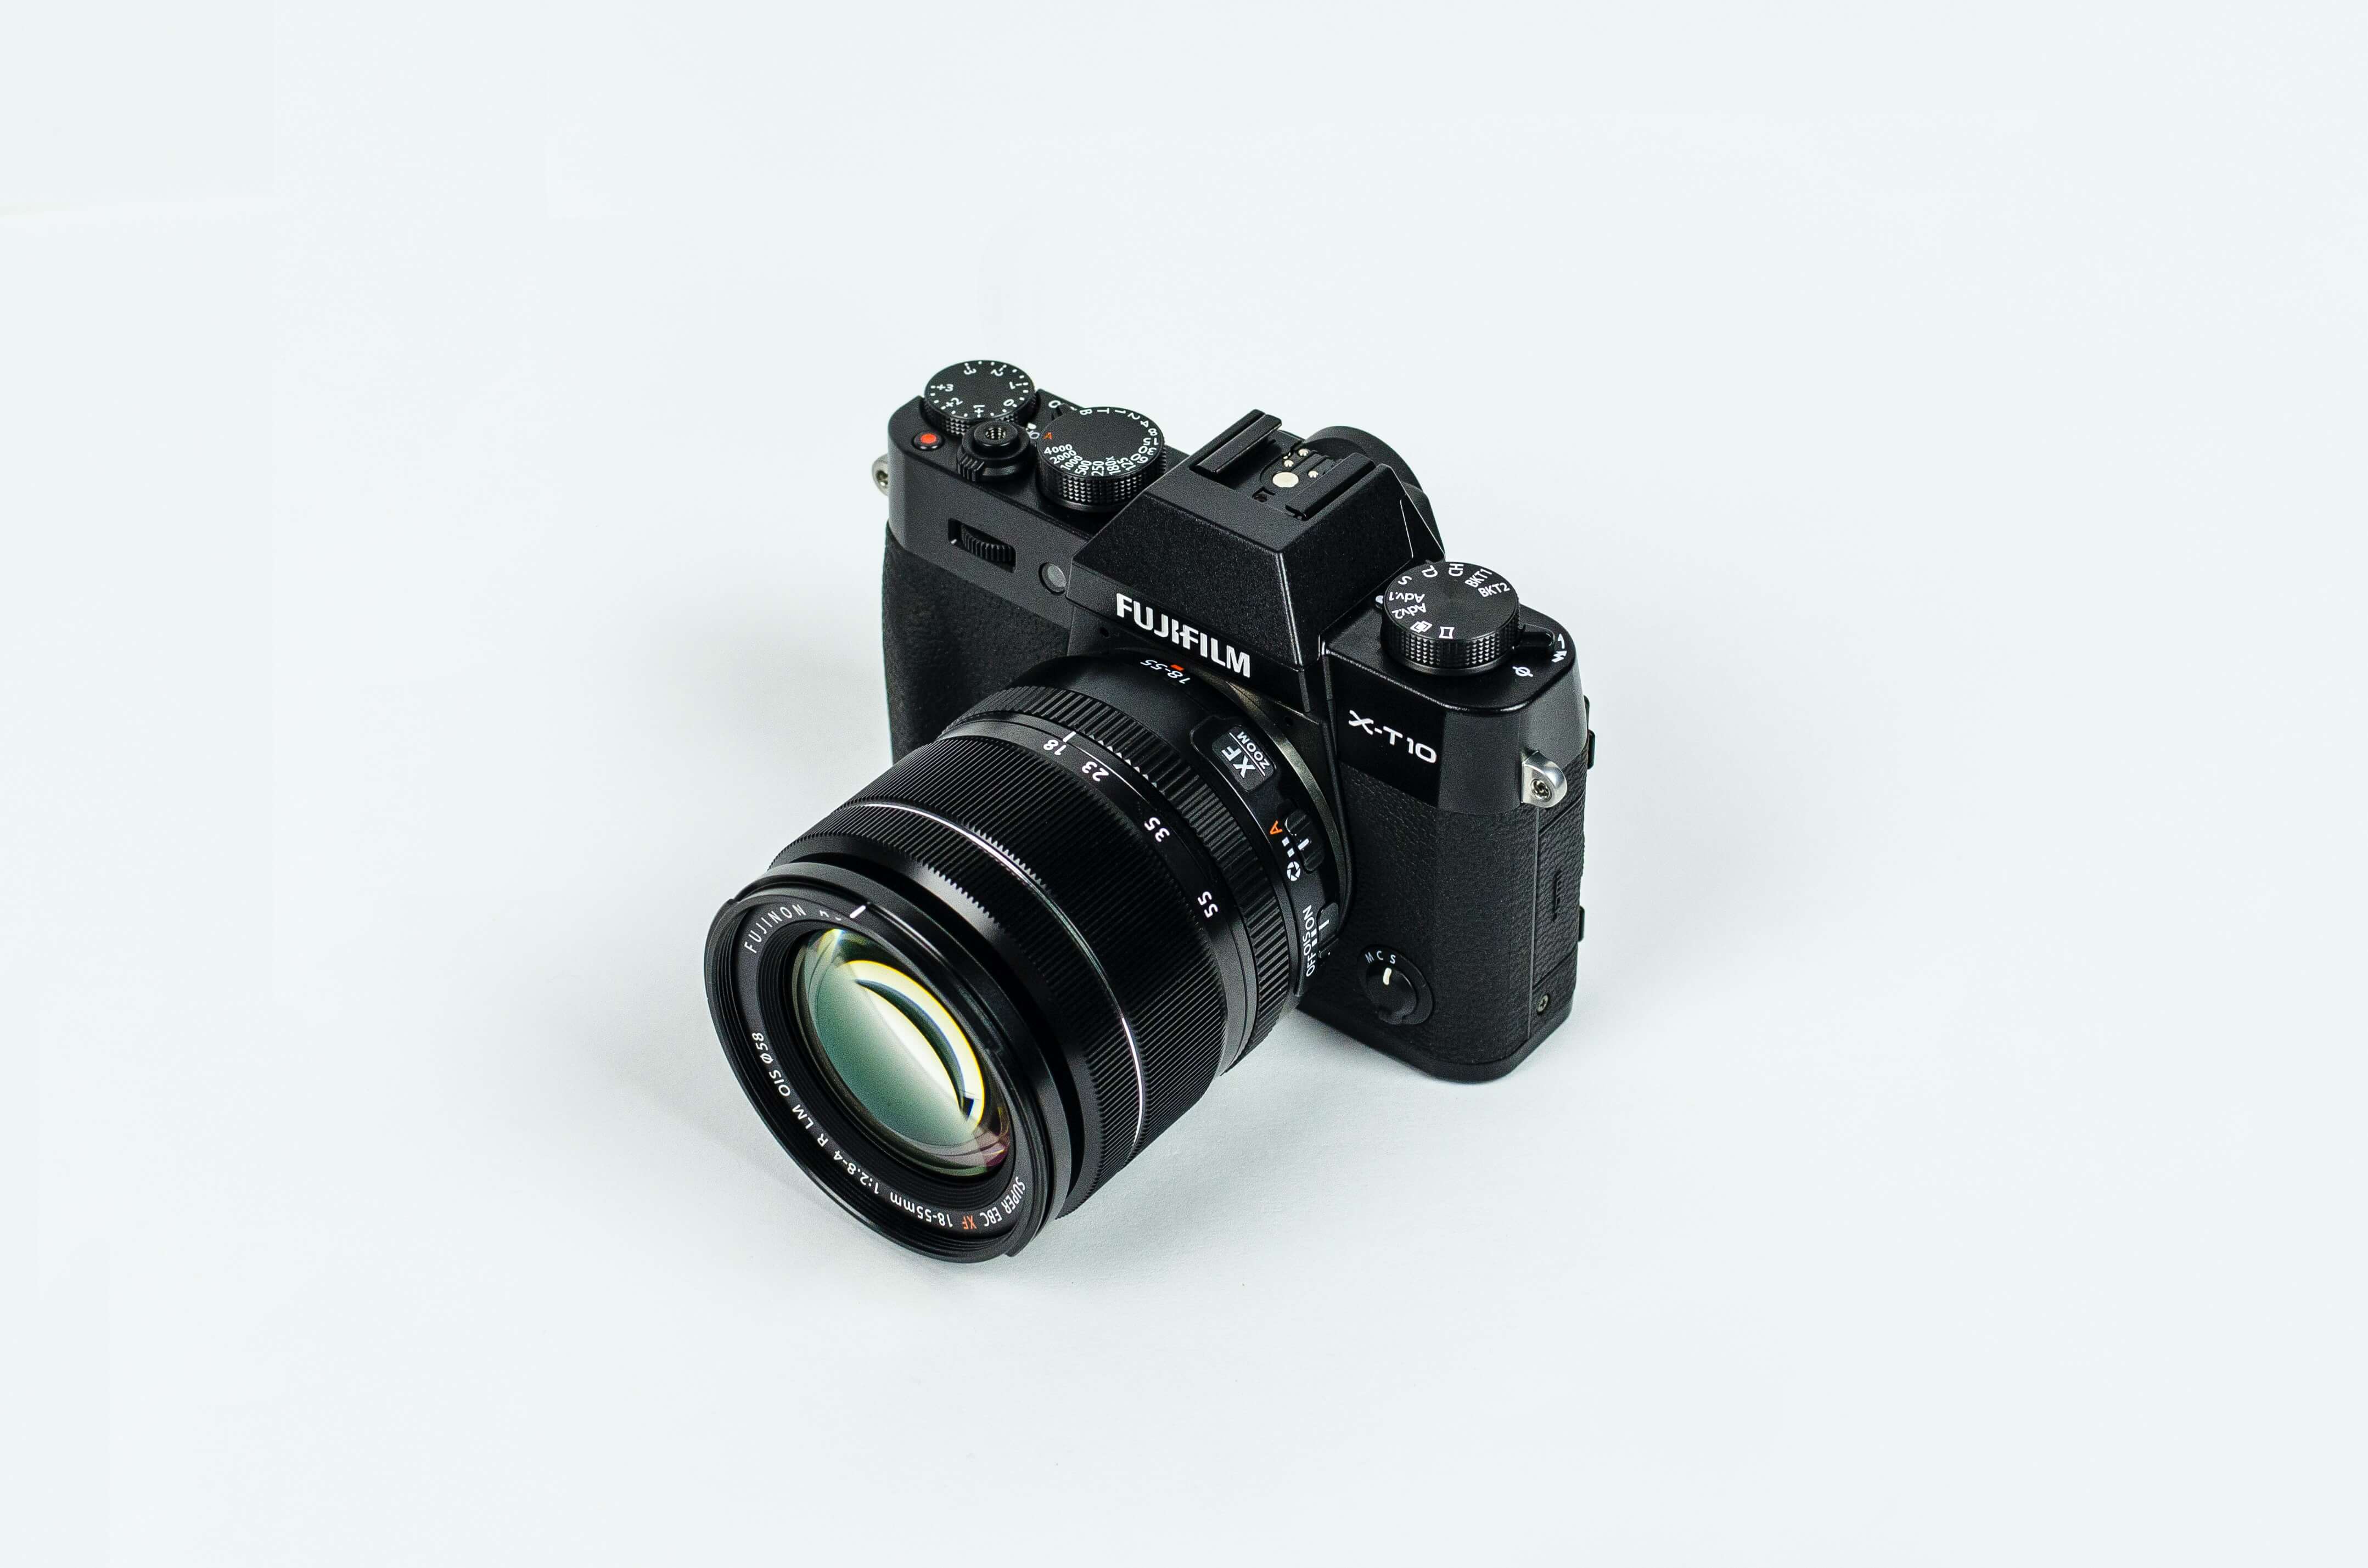
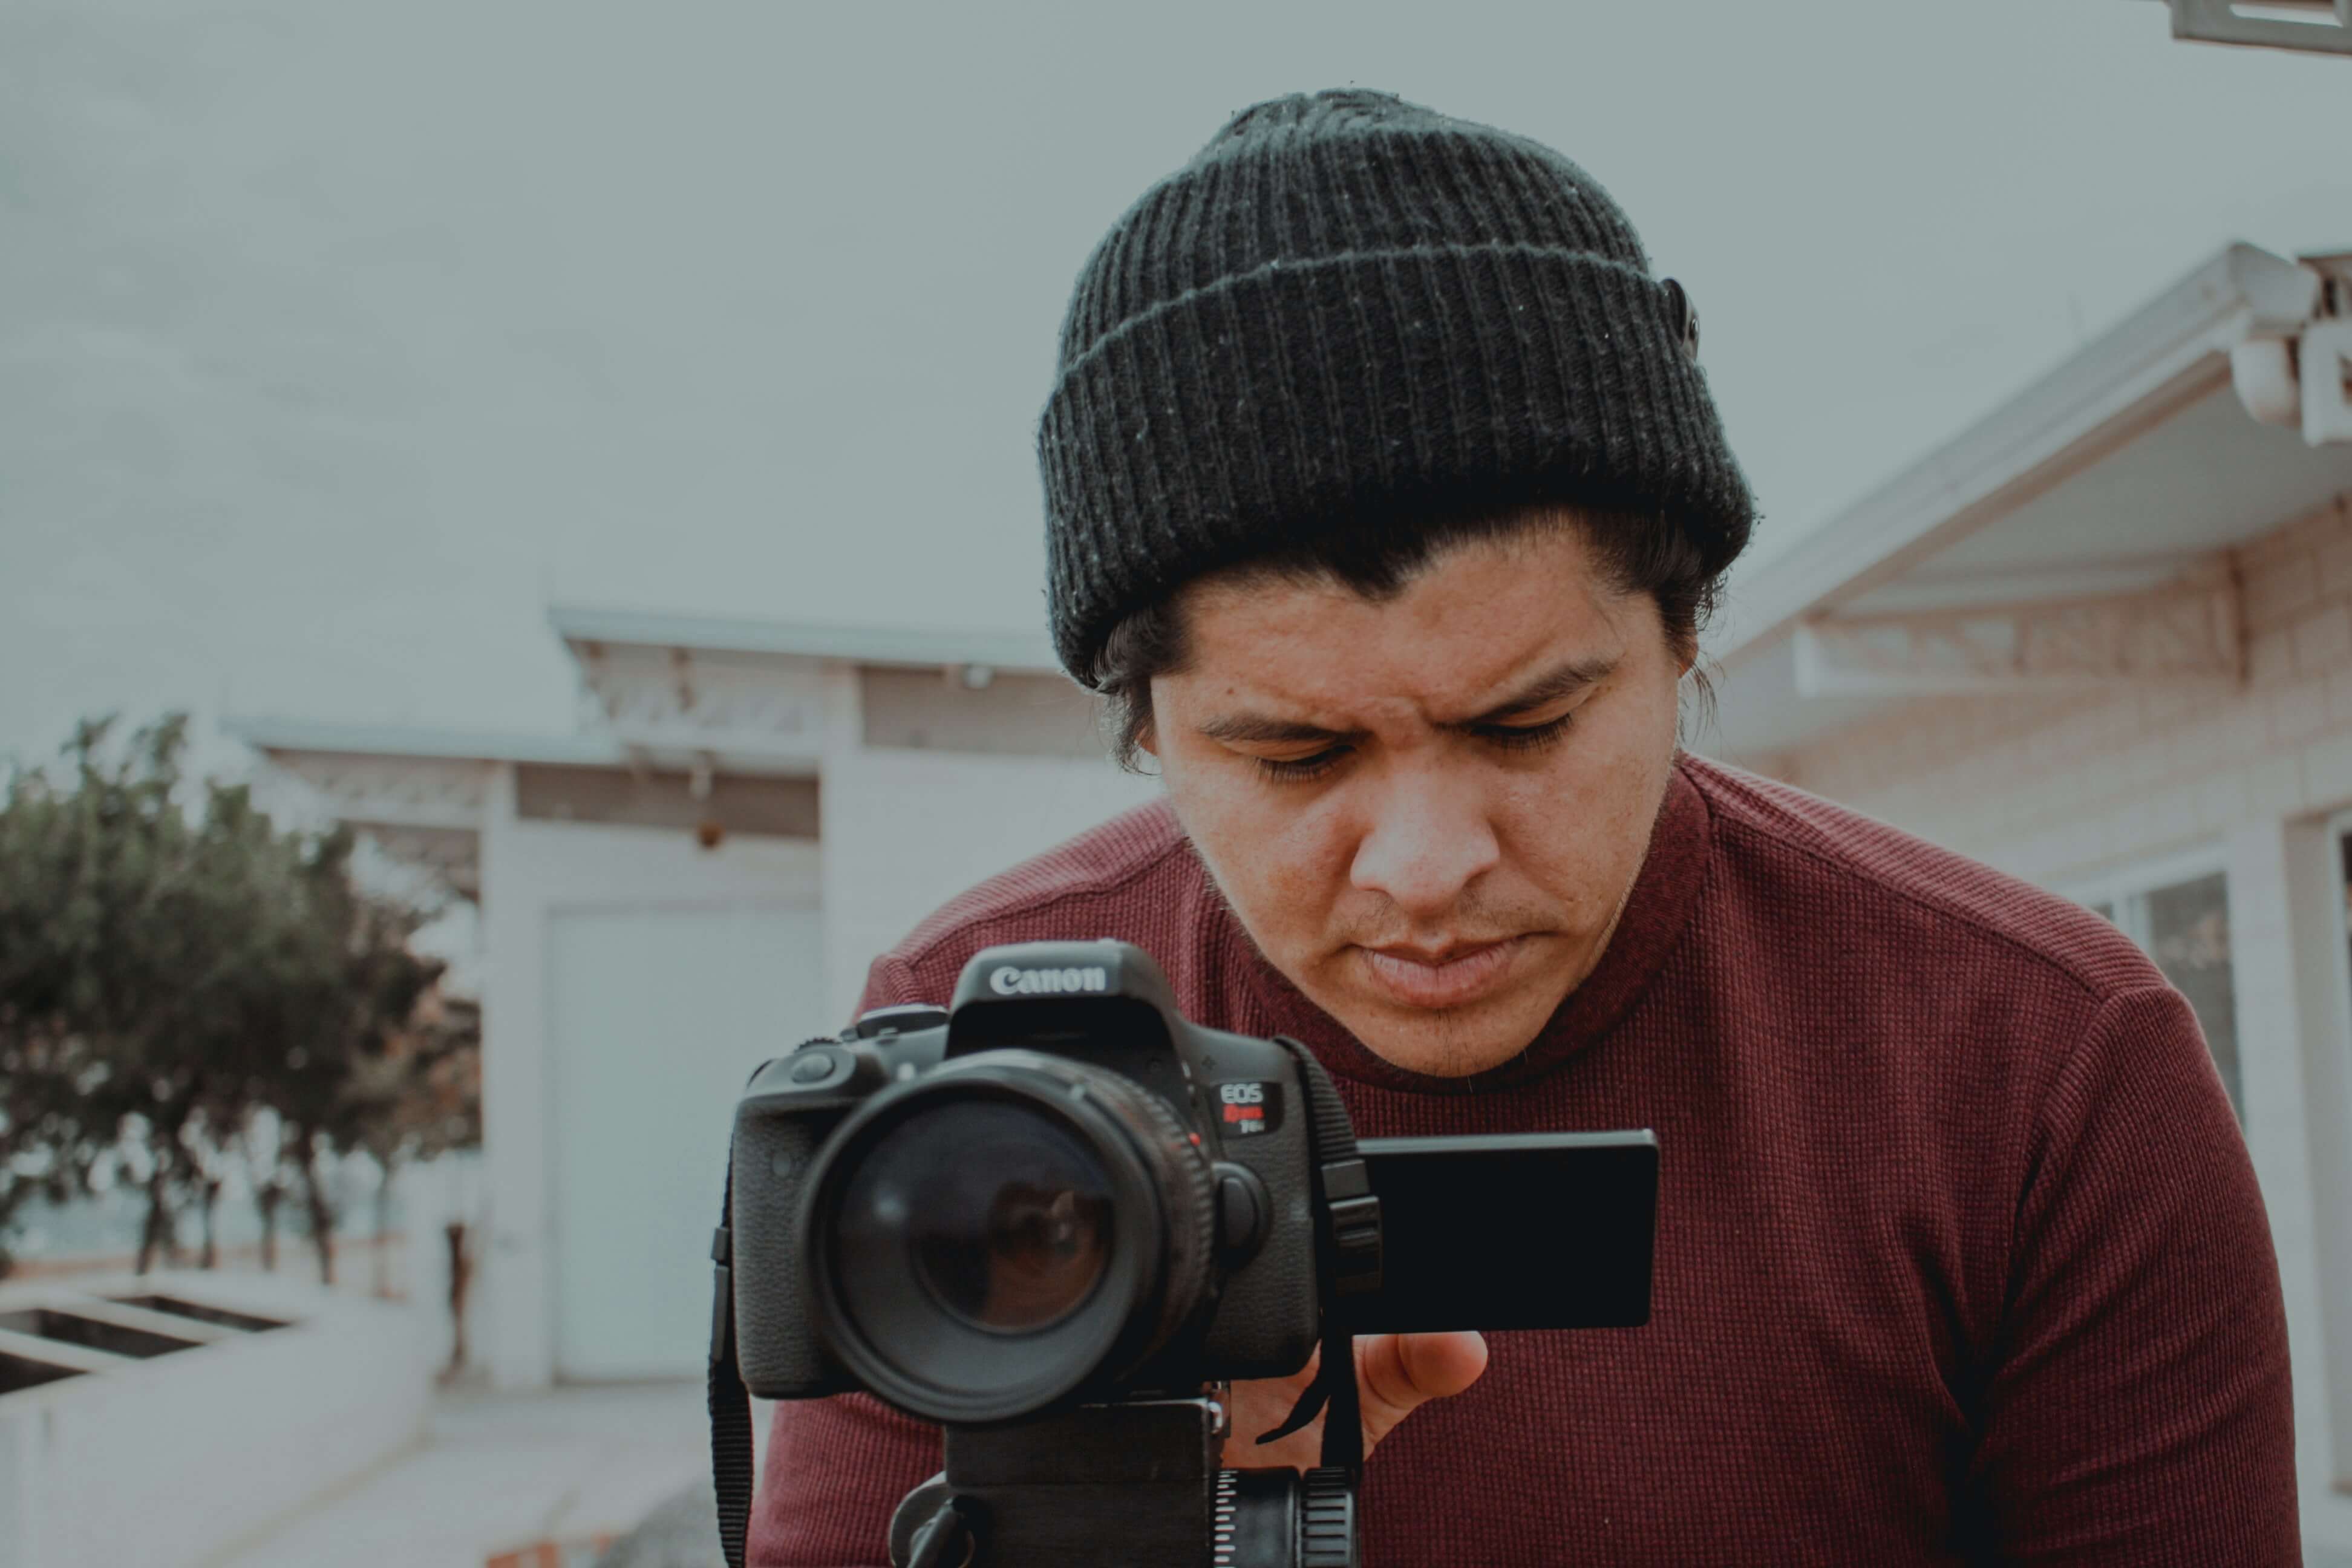
Camera
You don’t need to splurge on a full-frame DSLR camera system right away. Start with whatever you have handy, then read up on good cameras for your budget. Believe it or not, the camera isn’t the end-all be-all of photography. Lighting, exposure, styling, and post-processing decisions make more of a difference than the camera itself.
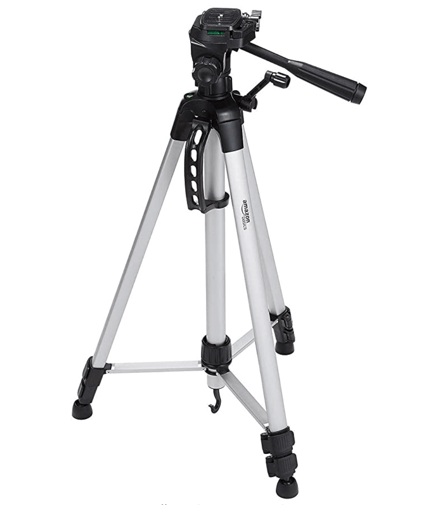
Tripod
A tripod can cost as little as $20 on Amazon but go a long way towards creating consistent, high quality product images.
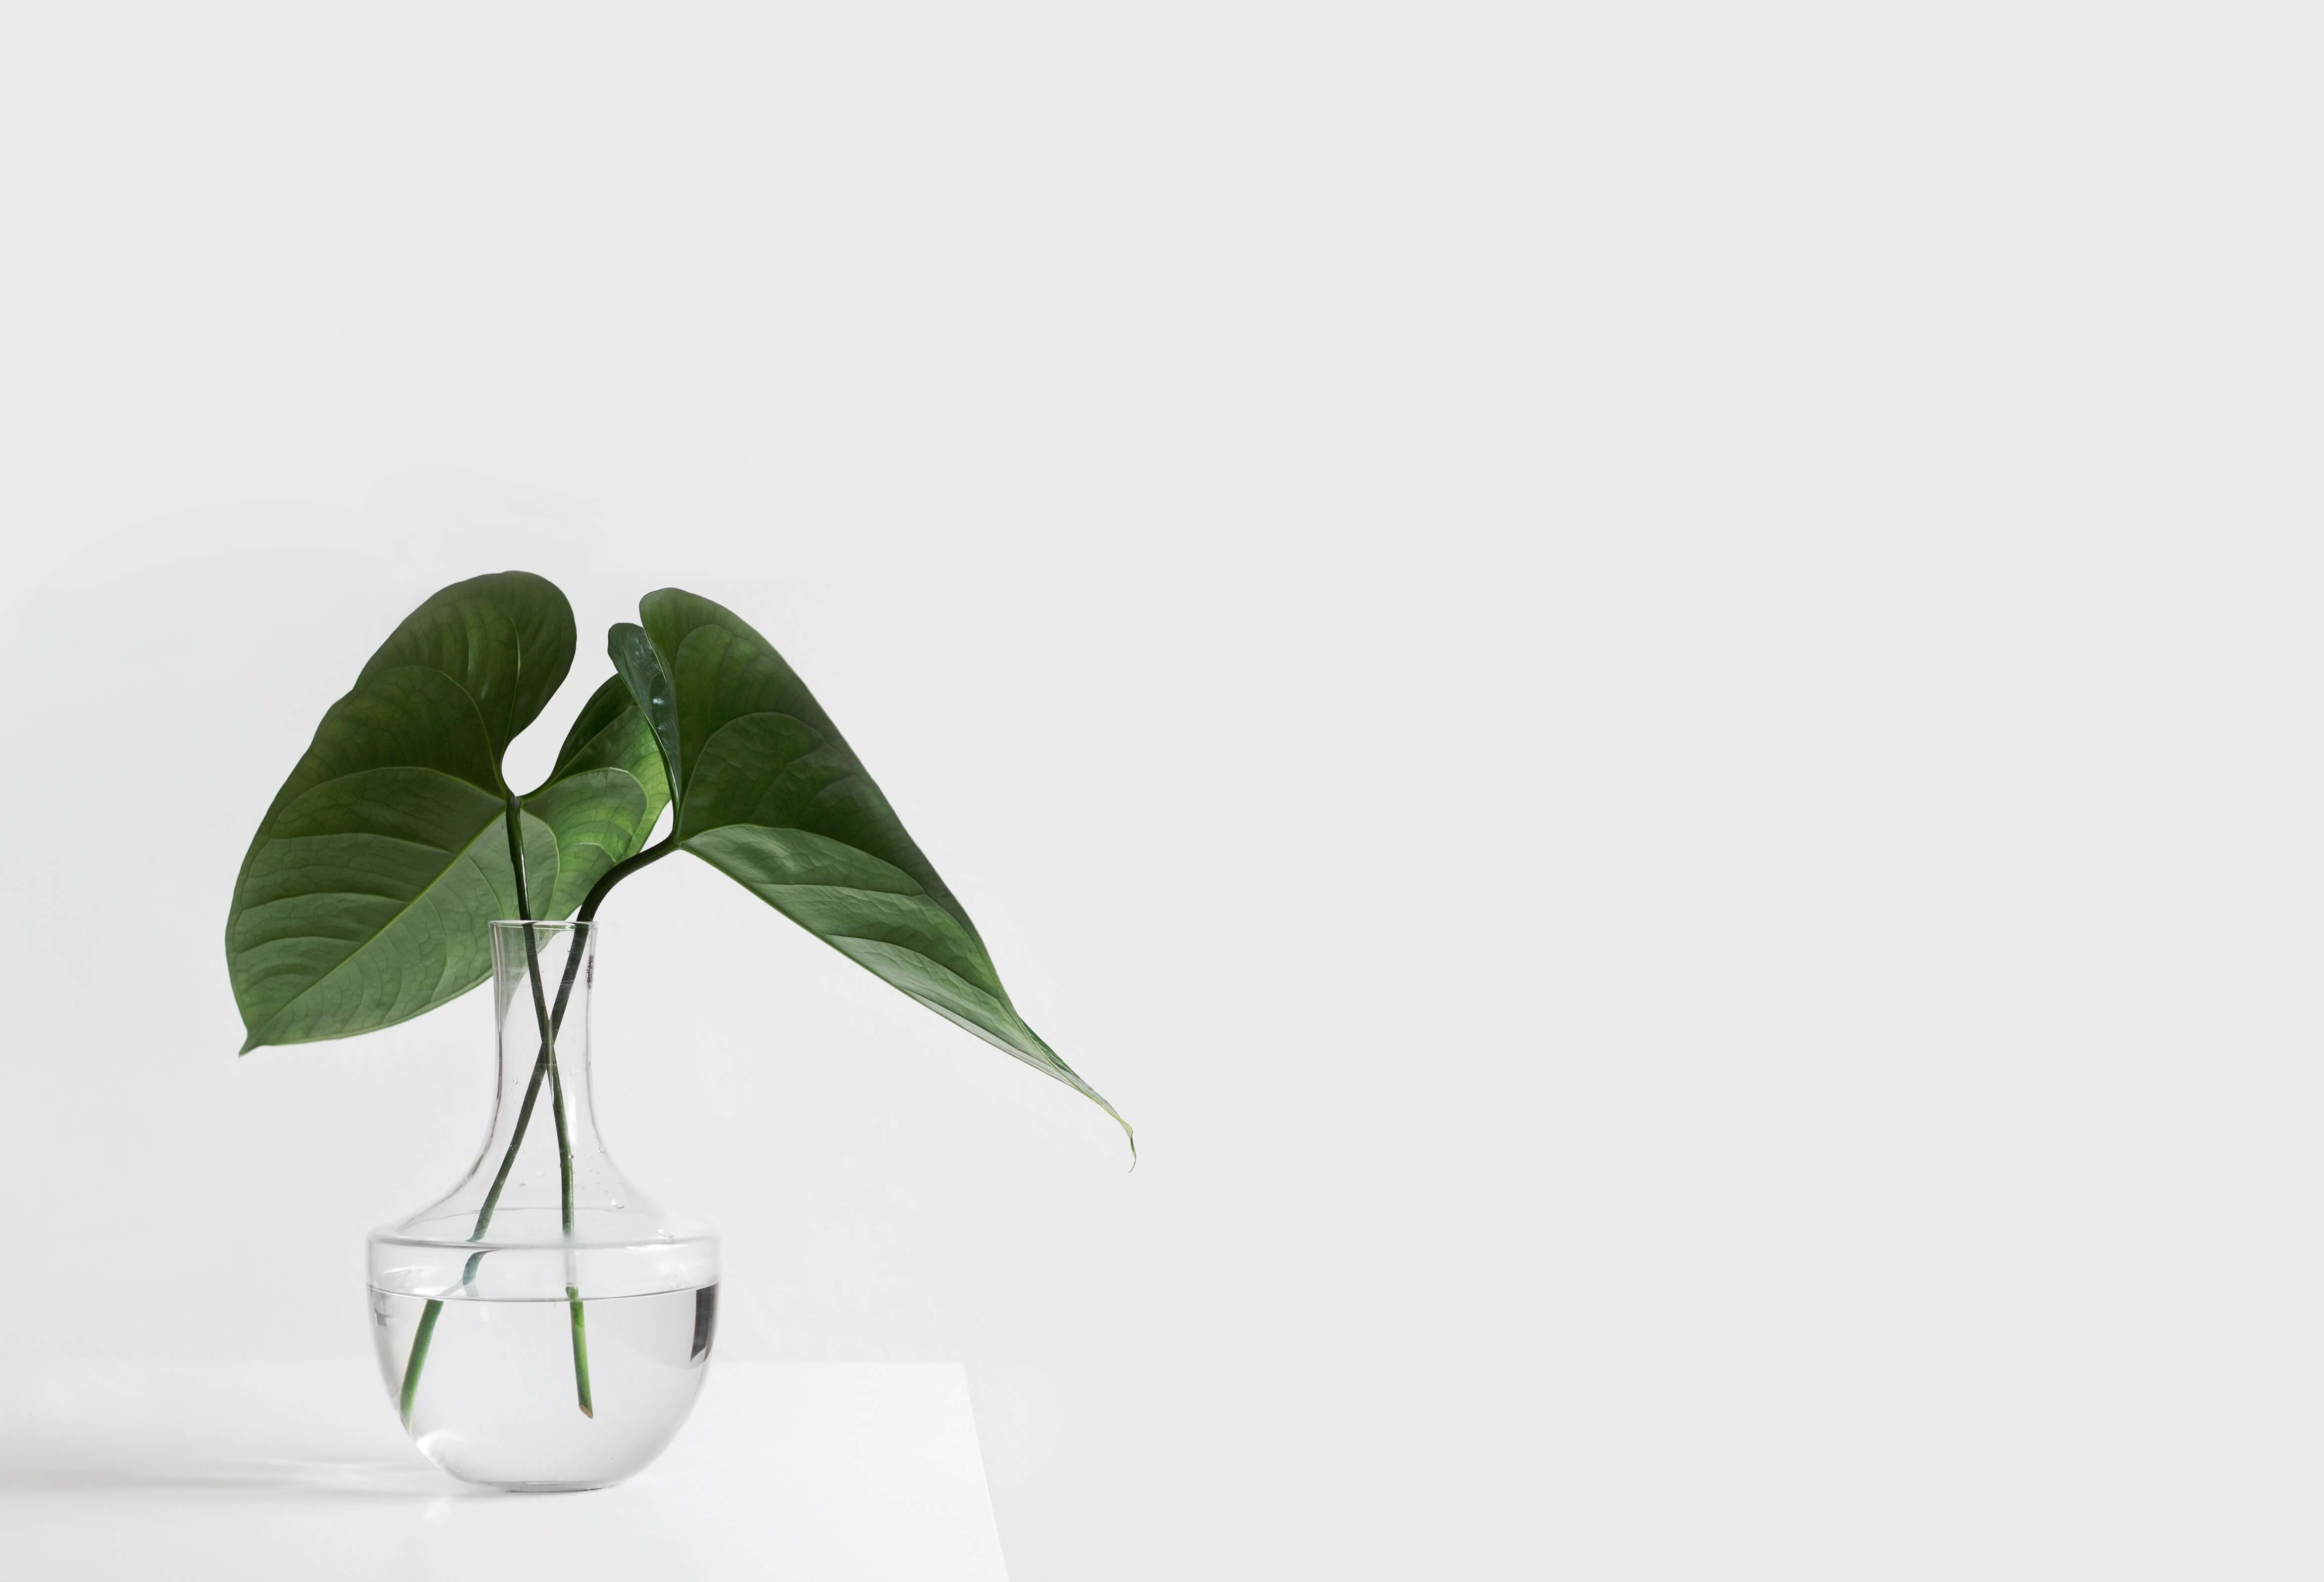
White Background
You can use a lot of things for a white background. Just make sure it’s pure white and not off-white or cream for lighting purposes. Paper sweeps and fabric sweeps are both good choices. In a pinch, you can even use a poster board from a drugstore.

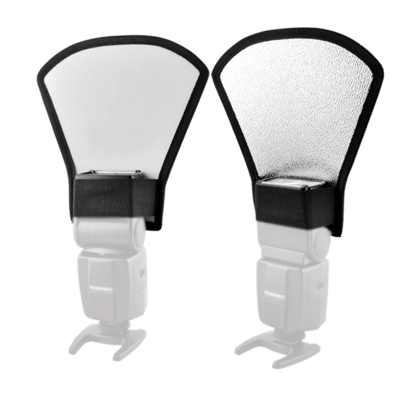
Bounce Cards
Bounce cards manipulate shadows to make photos better lit. They are typically made out of sturdy foam board. White bounce cards minimize shadows and black bounce cards make them deeper. A white bounce card in the front of the product and a black bounce card in the back is an easy, sophisticated lighting setup.

Shooting Table
To display your products during a photoshoot, you’ll need a stable, sturdy surface. A standard folding table between 24 and 27 inches wide works great.

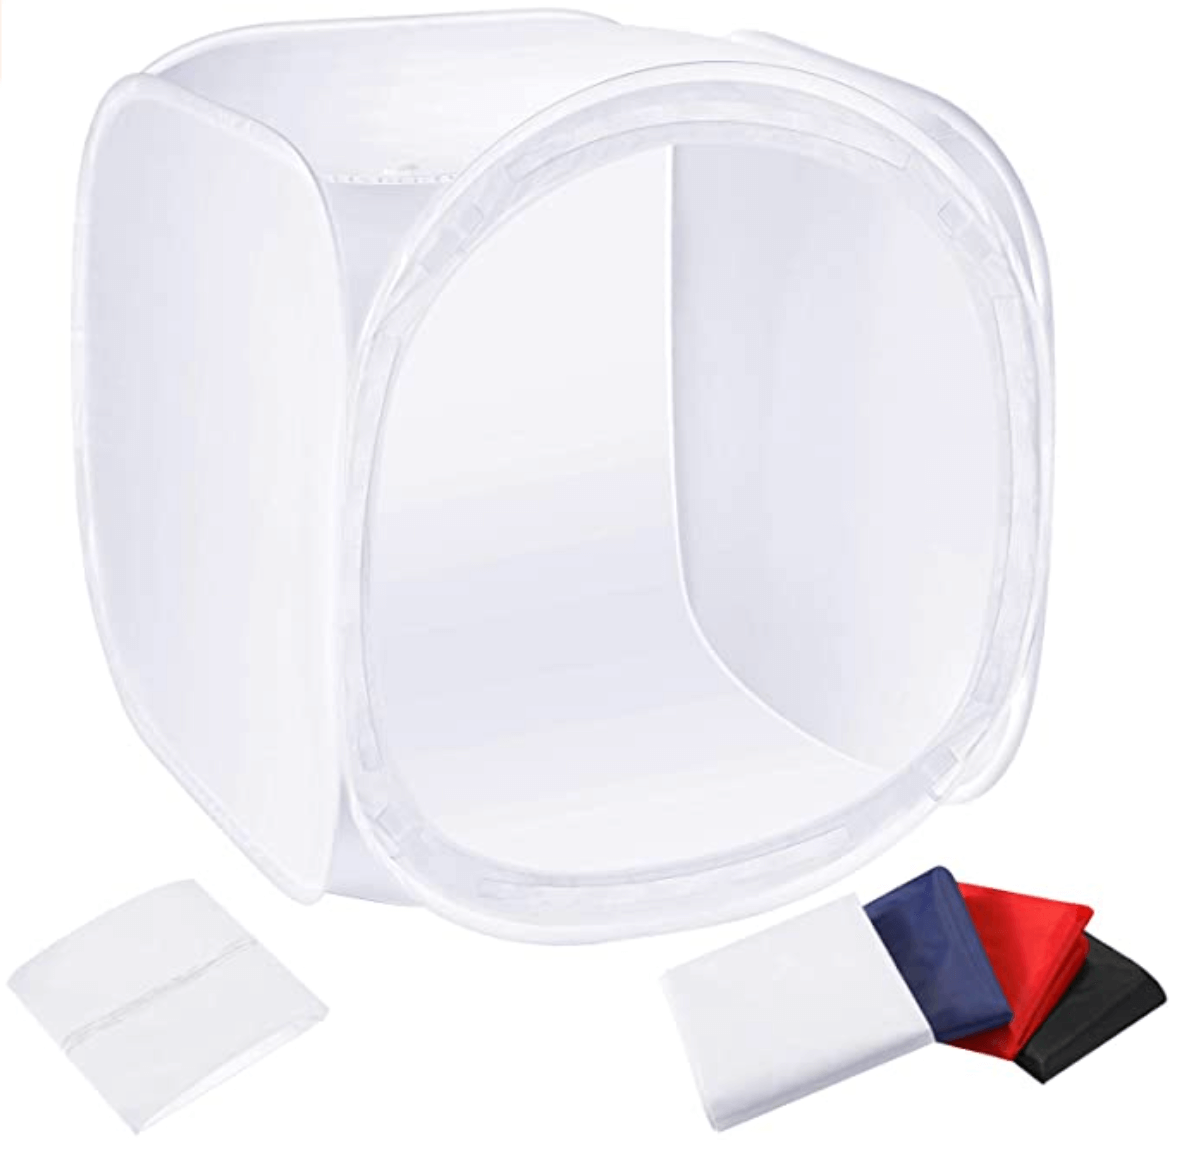
Light Tent
A light tent or a light box is a wireframe box with translucent walls which helps create an evenly distributed light around the product. You can buy one or make your own with a clear plastic storage container.
To make your own, place a plastic storage container on its side with the lid off and cover the bottom and sides with white paper.
Studio Lighting
Decent studio lights go a long way in product photography. Get at least two softbox light setups to diffuse harsh lighting and adjust for shadows.
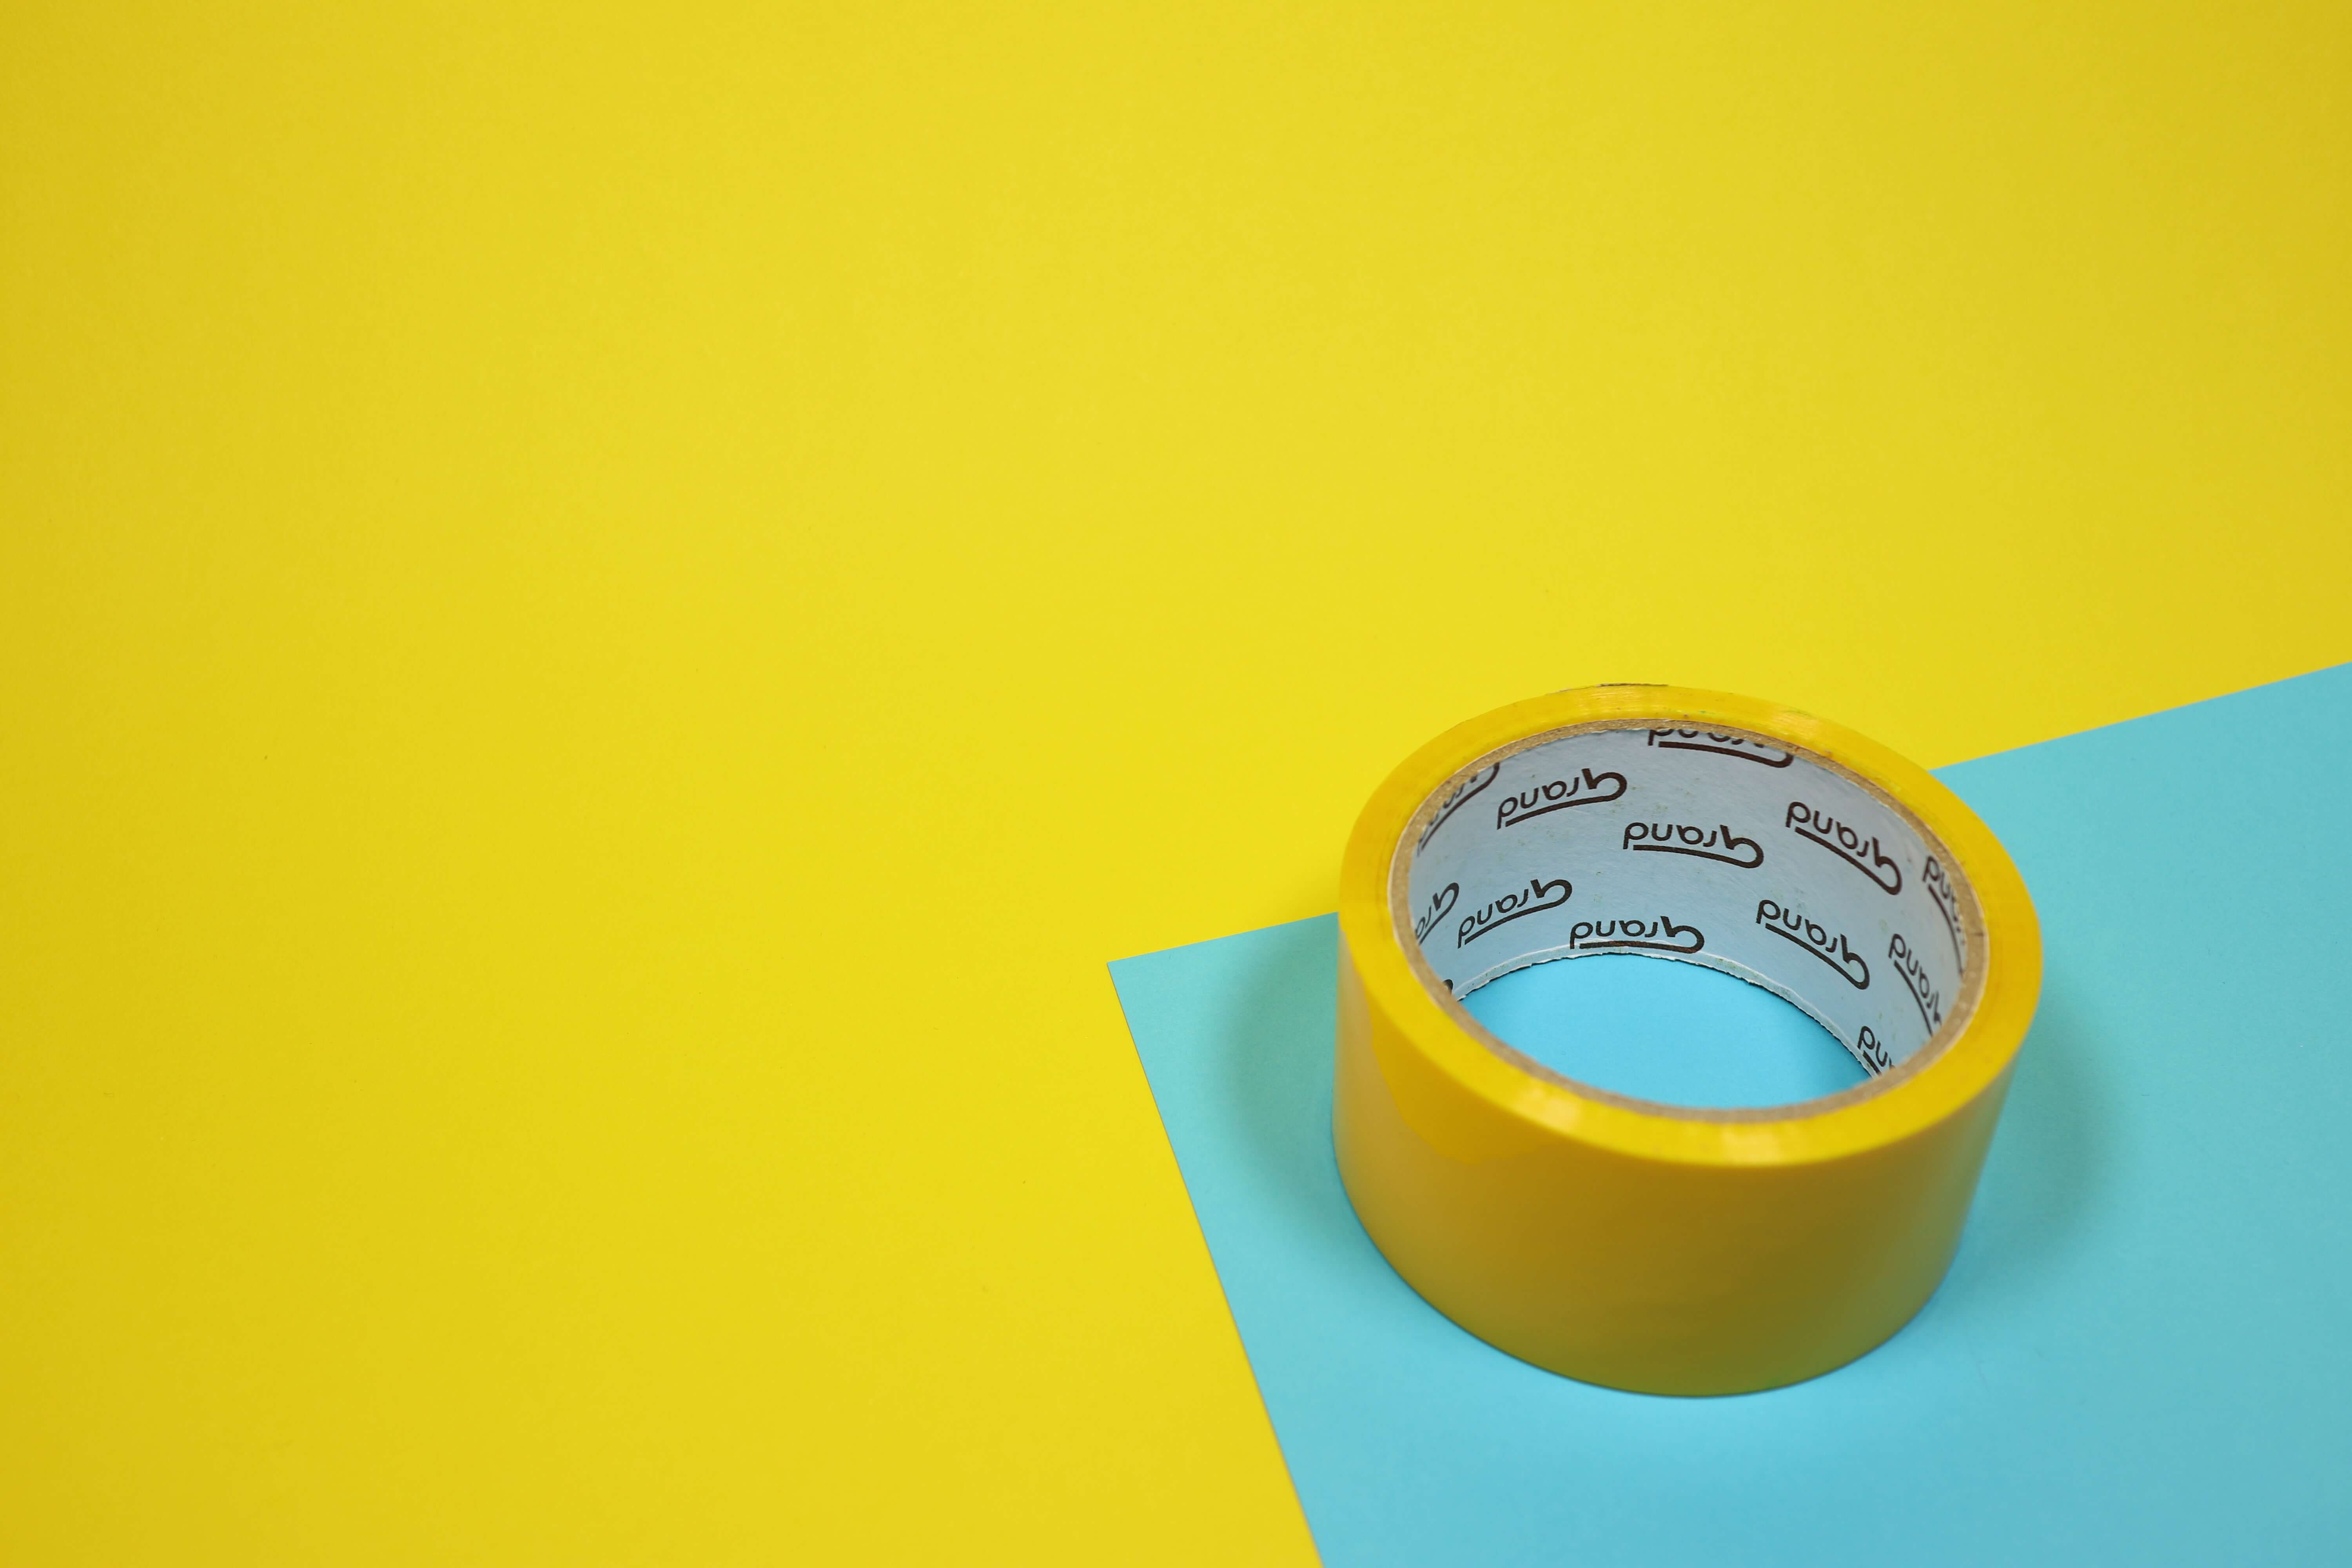
Tape
You have to secure your board with something. Painter's tape should do the trick.
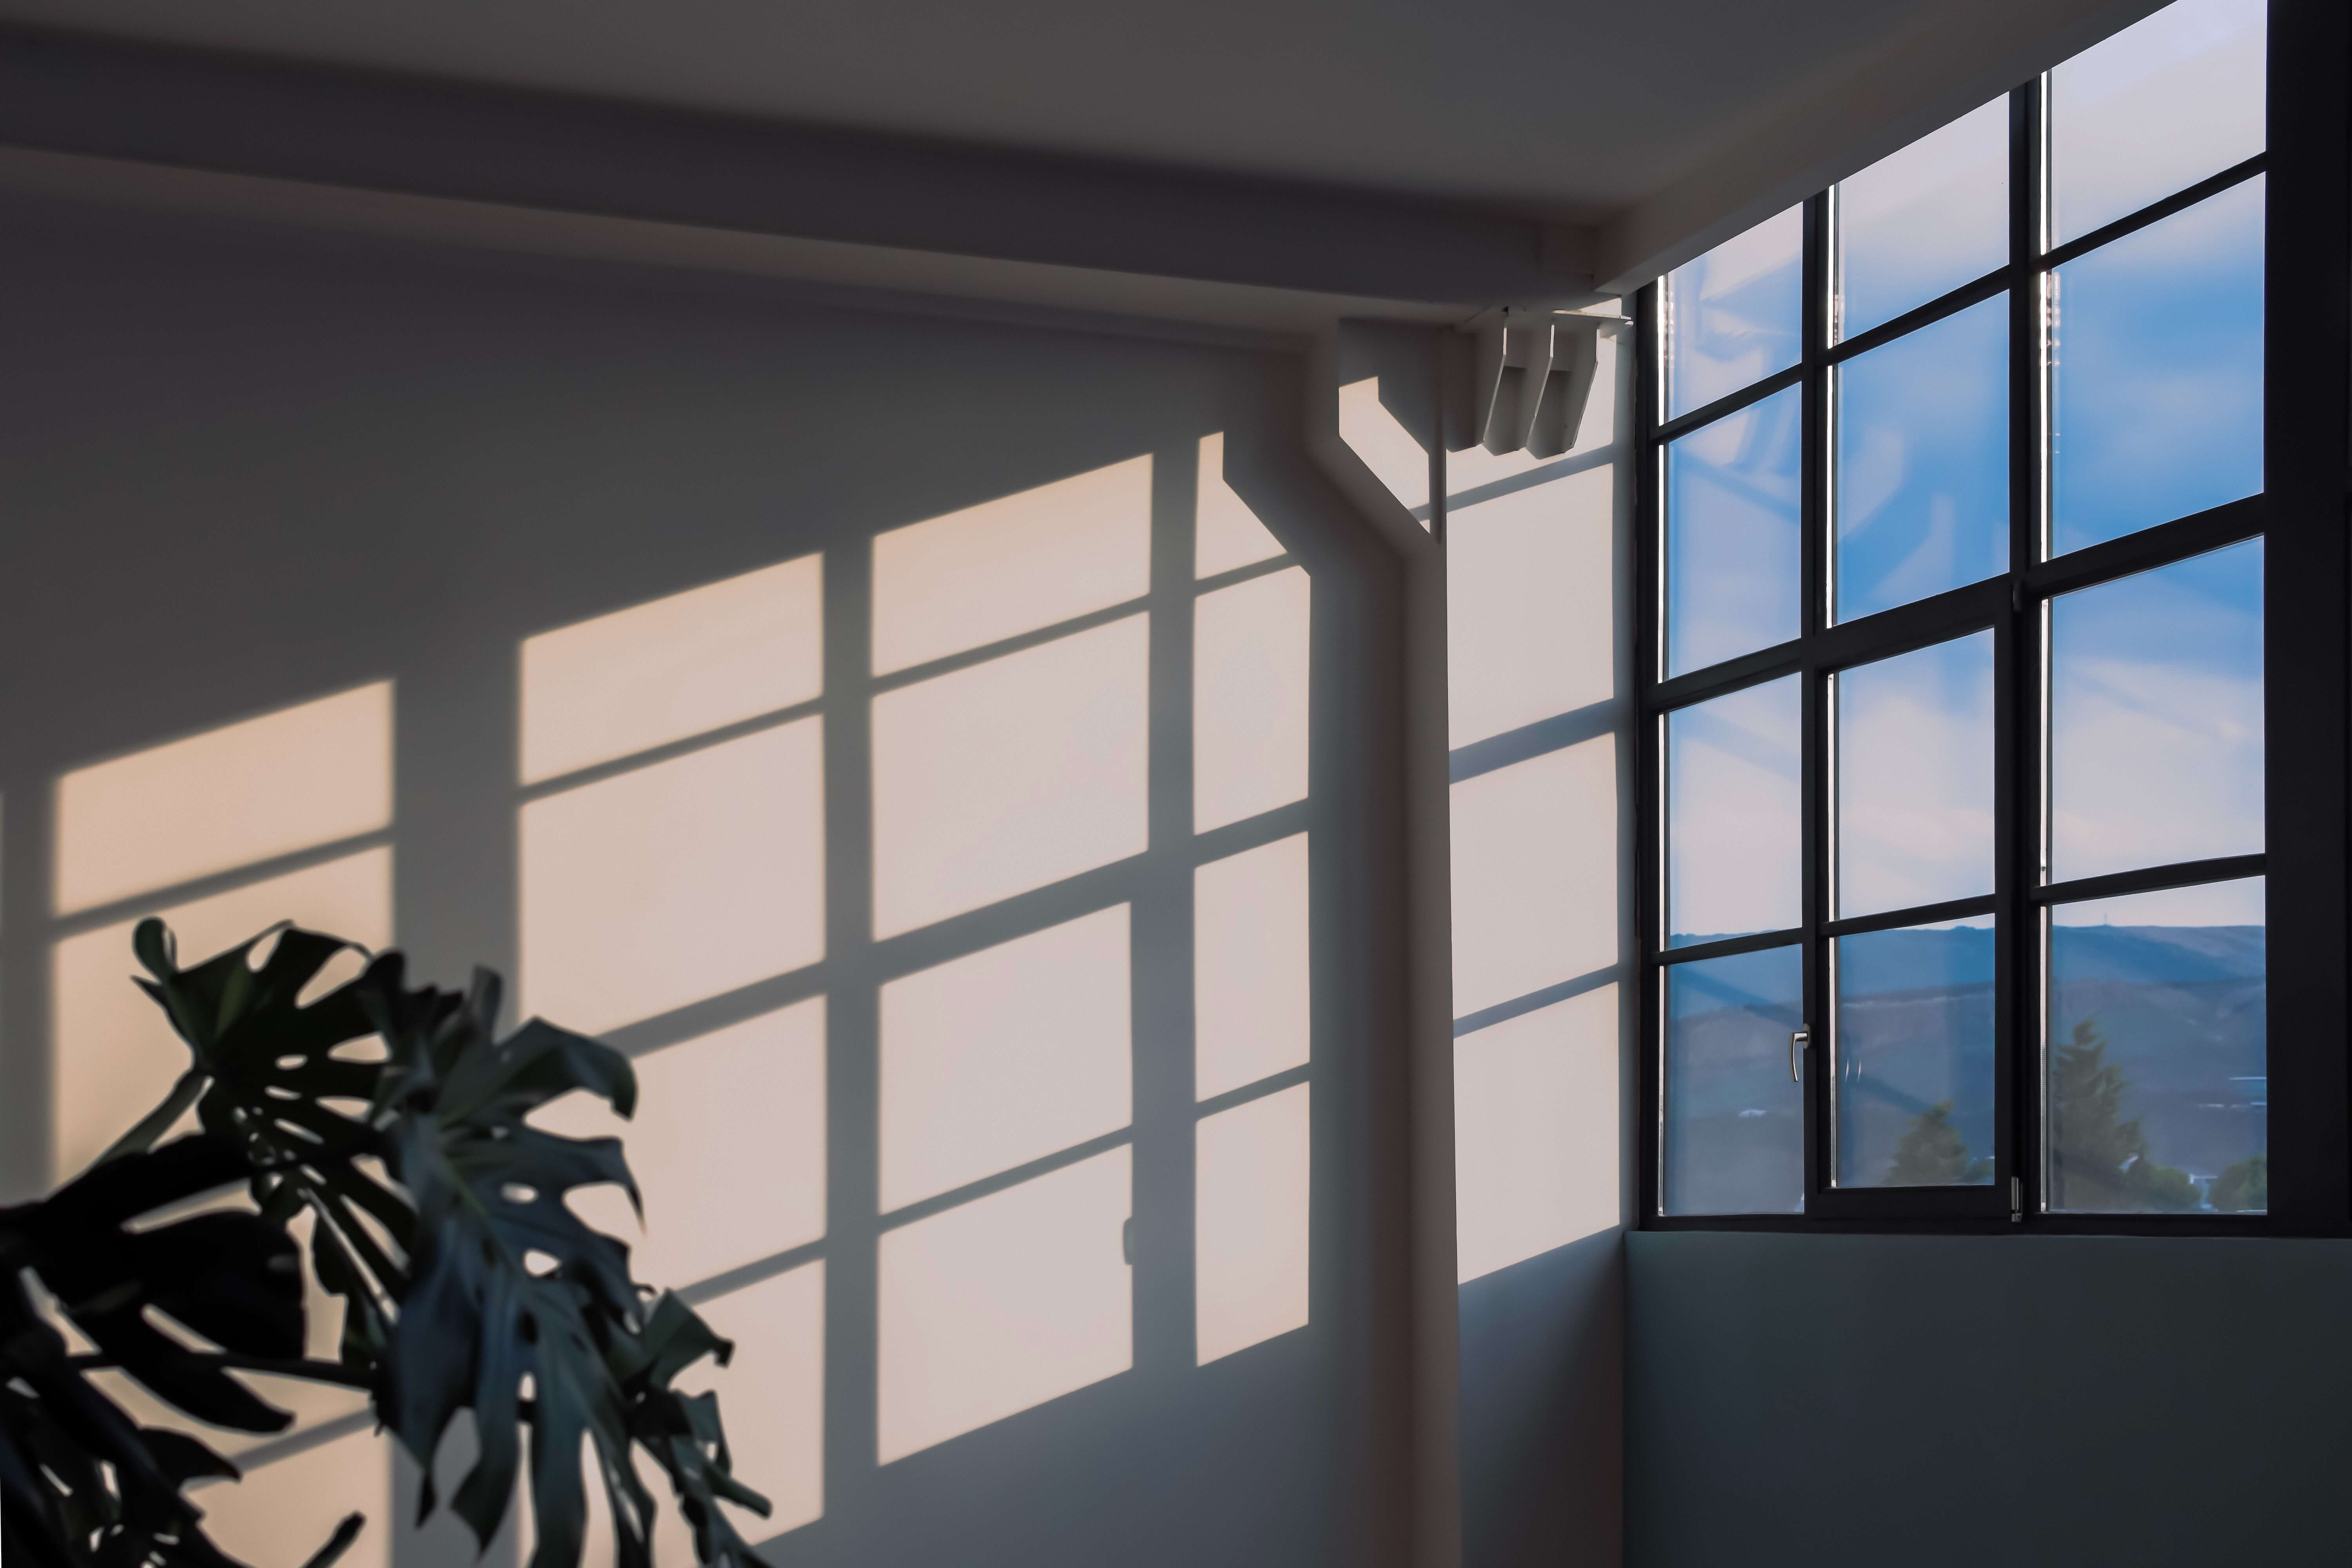
The Right Room
When you choose a room to take photos in, you want to pick one with widows close to a wall. The bigger the window, the more light you’ll get.
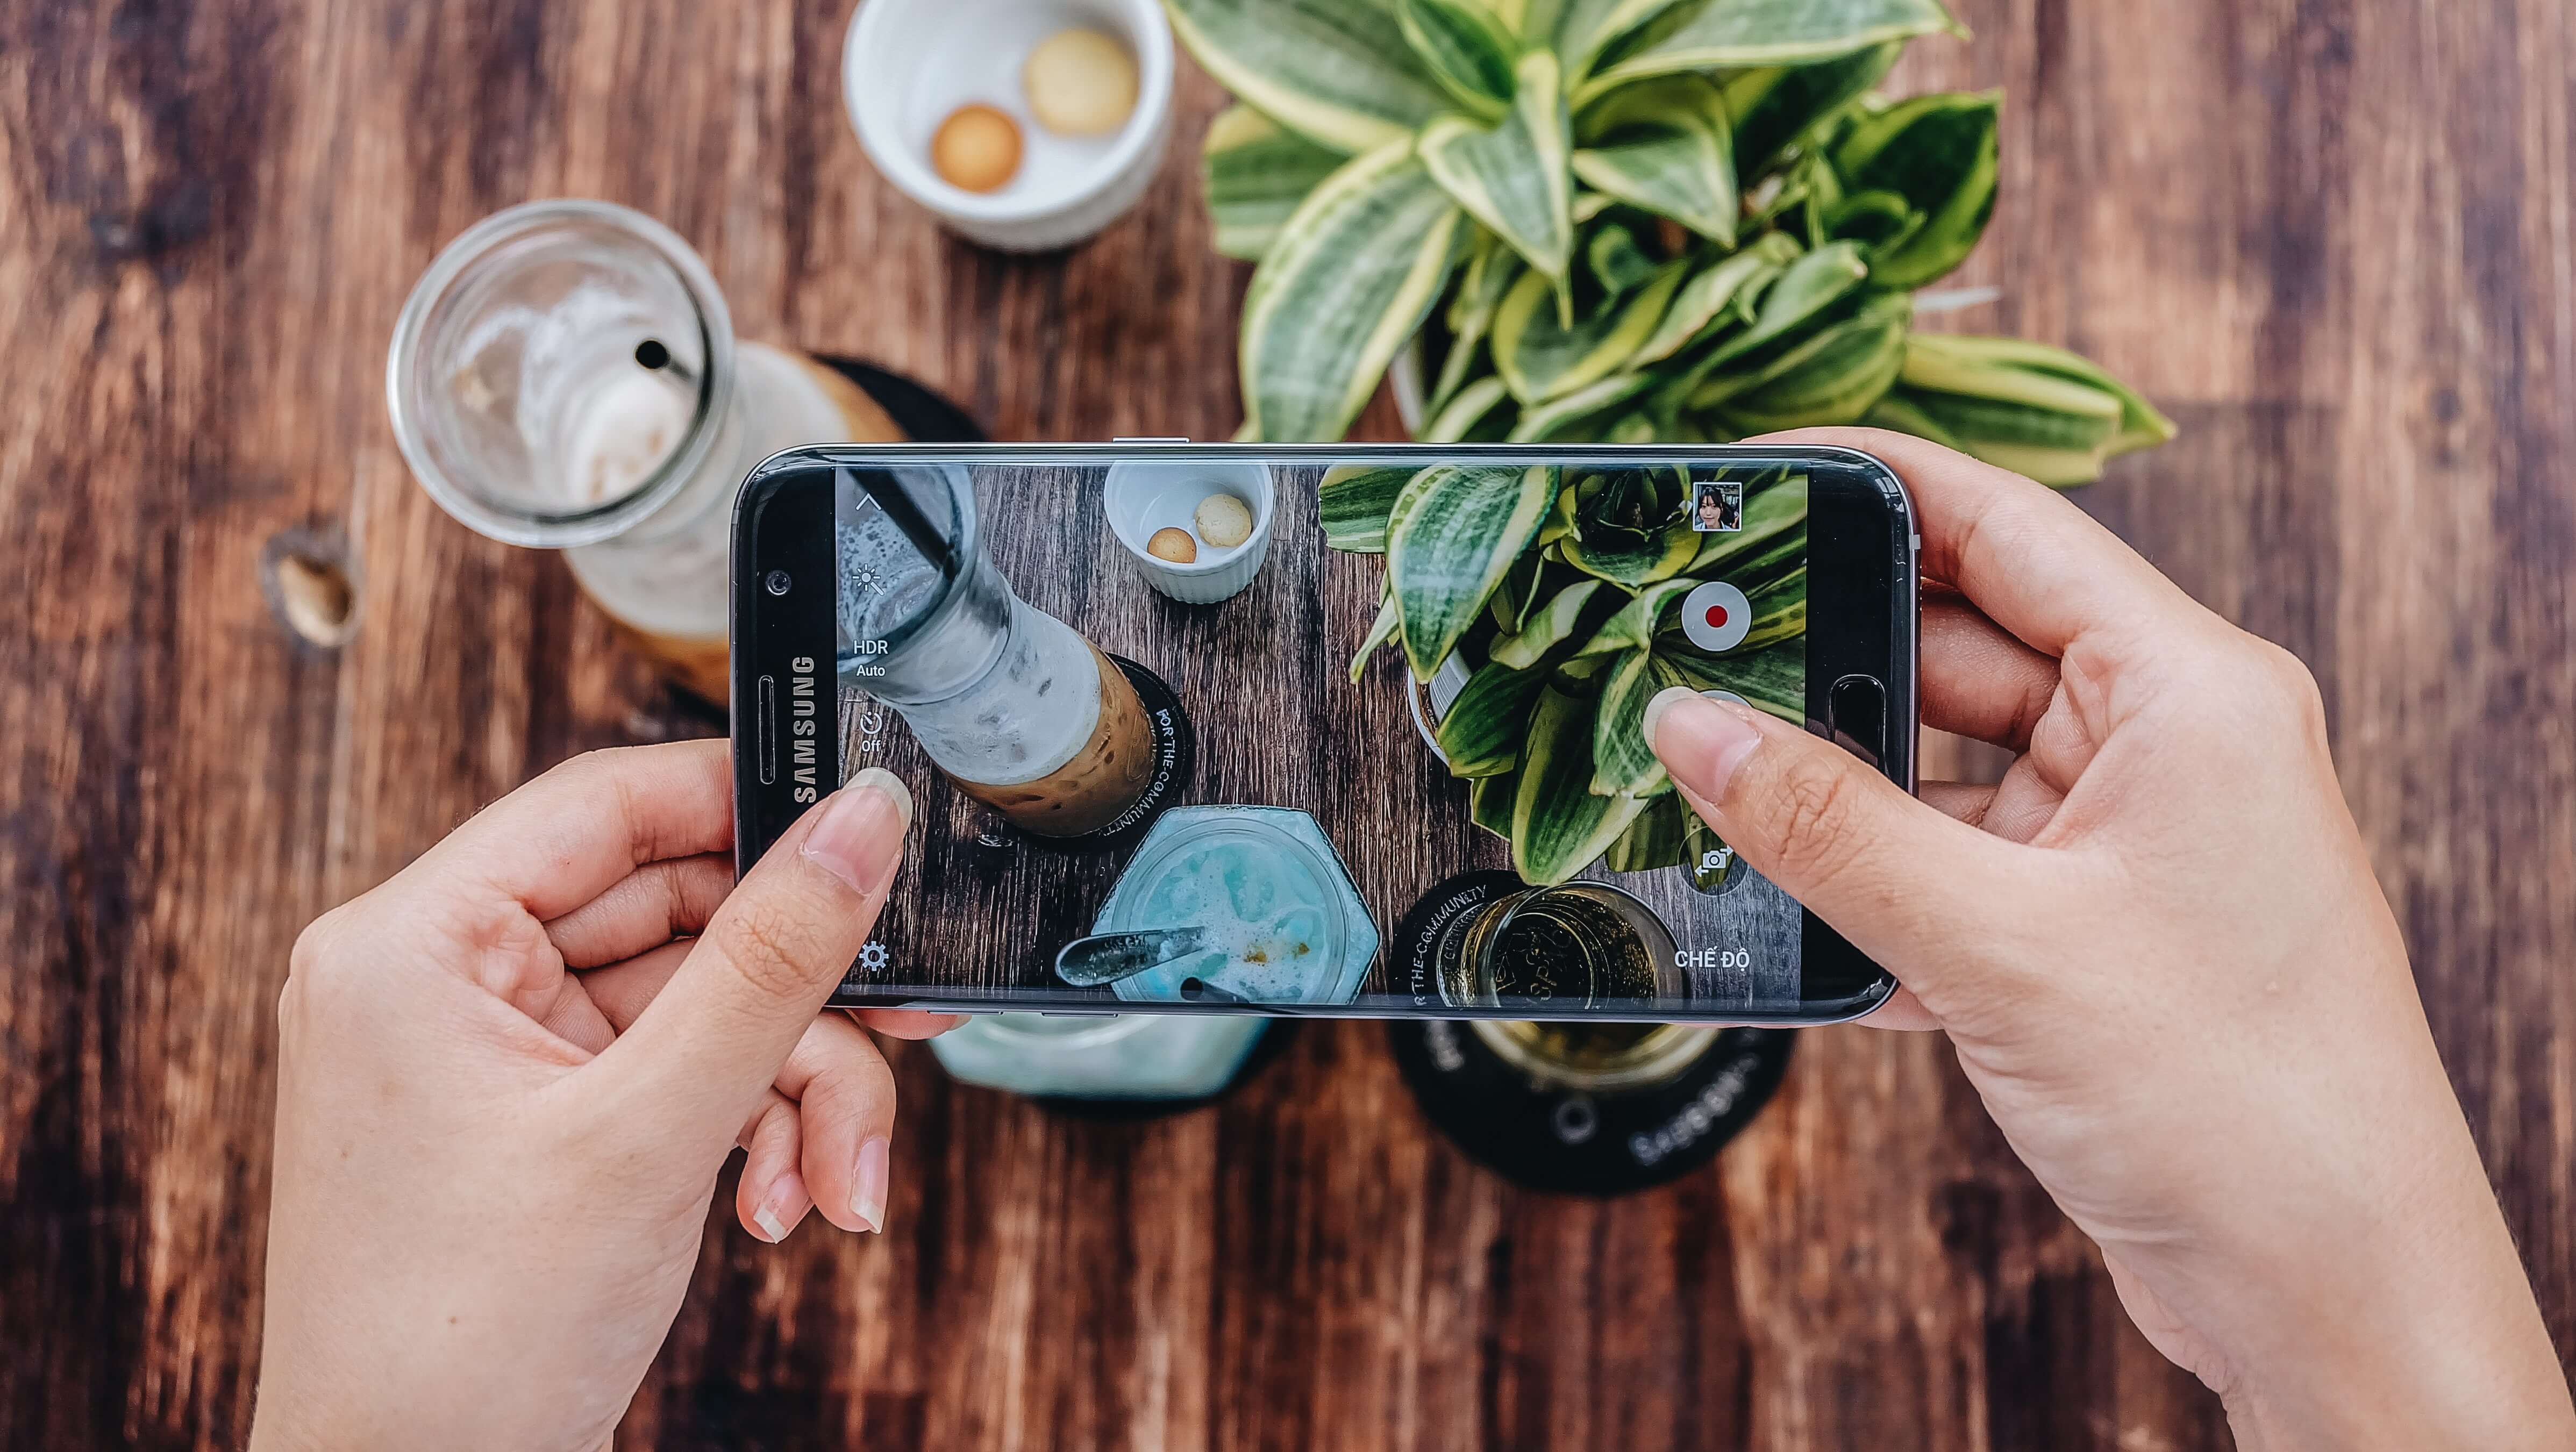
How to Take Product Photos
For those of us with little photography experience, product photography can be a little intimidating. Fortunately, taking high-end photos is easier than ever. iPhones have 12 megapixel cameras. Photo editing software is more affordable. All you need is the right advice and equipment. Without further ado, here’s our step by step guide to DIY product photography for small business owners.
1. Set up your background
The first step is to set up a plain white background to make the product pop. Simply set up a sweep on your shooting table with tape or a clamp. You can also use a lightbox to create an evenly distributed light around the product.
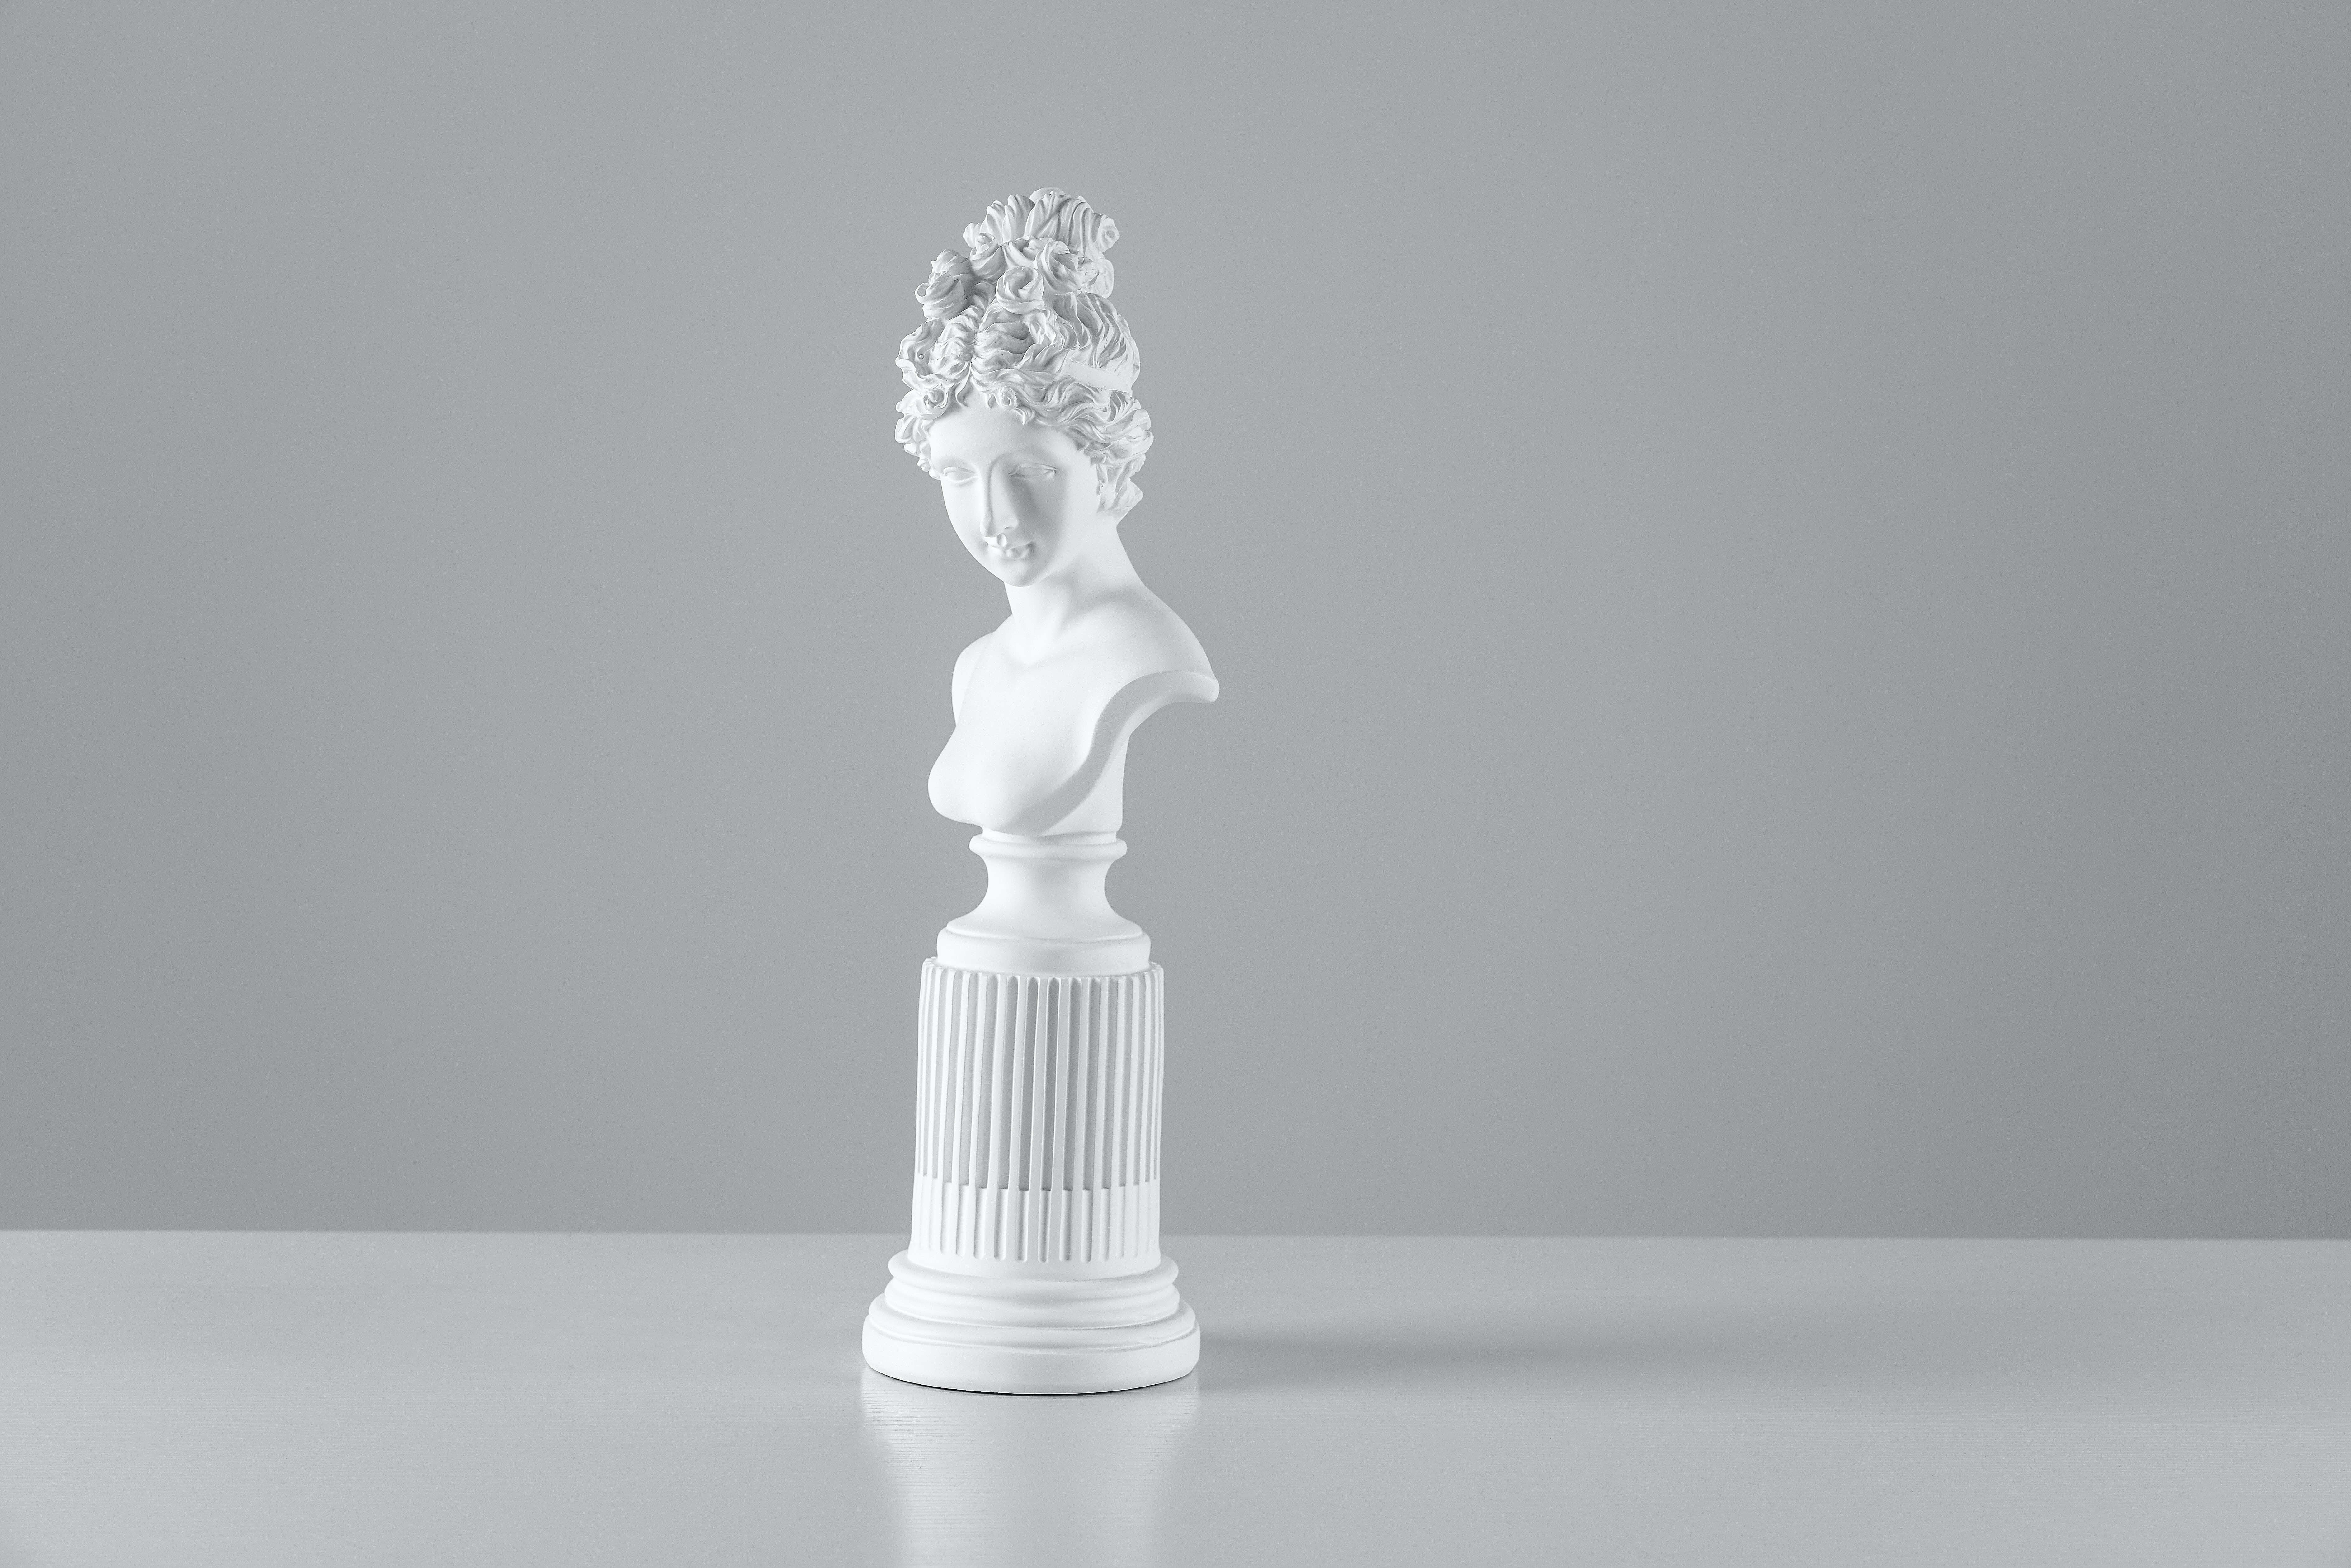
2. Set up your product
Now it’s time to bring your product into the spotlight. Place your product in front of the backdrop, making sure that it’s centered on your shooting surface. It may take some trial and error to get the right angle.
You may need additional props, especially for smaller items. These may include:
- Glue dots and tape for keeping small items in place
- Mannequins for clothing and accessories
- Hangers or eye-catching flatlay for displaying products at different angles
3. Adjust your lighting
Good lighting is essential for good product photography. Adjusting it now will save you trouble in post-production. You can use natural or artificial lighting.

Natural light
Natural light is ideal for outdoor shoots, lifestyle shots, and food photography. The important thing is to time your shoot when the sun is at its peak. You can use natural light indoors by placing your setup close to a window and diffusing it with a light sheet if necessary.
Artificial light
If you have the budget for studio lights or need to shoot at different times, artificial light may be a better option.
You’ll need at least two softbox light setups, to soften shadows. You can find clip-on light clamps and strong bulbs on Amazon for about $30.
Regardless of how you adjust your studio lights, one should go in front of your product and the other should go in the back or above the product. If the shadows are still too intense, you can always use a sheet or white cardboard to further soften the light. Once you have a lighting setup figured out, be sure to document it so you can repeat it later.
4. Take multiple pictures and evaluate
The first shot probably won’t be your best. Take shots at different angles, distances, and positions and see how they change the effect. The point of shooting multiple angles is that it’s a change for shoppers to see products from different perspectives. Some shoppers may prefer close-up shots. Others may want to see items straight on. Everyone can envision themselves using your product in different ways, which can lead to more sales.
Eye level
Shows your product as you’d see it straight on
High angle
Shows your product as if you’re looking down as it
Low angle
Shows your product as if you’re looking up at it
Bird’s eye
Shows your product as if you’re standing above it
Once you’re satisfied with the number of pictures you took, upload them to a computer to get a better view of how they turn out.
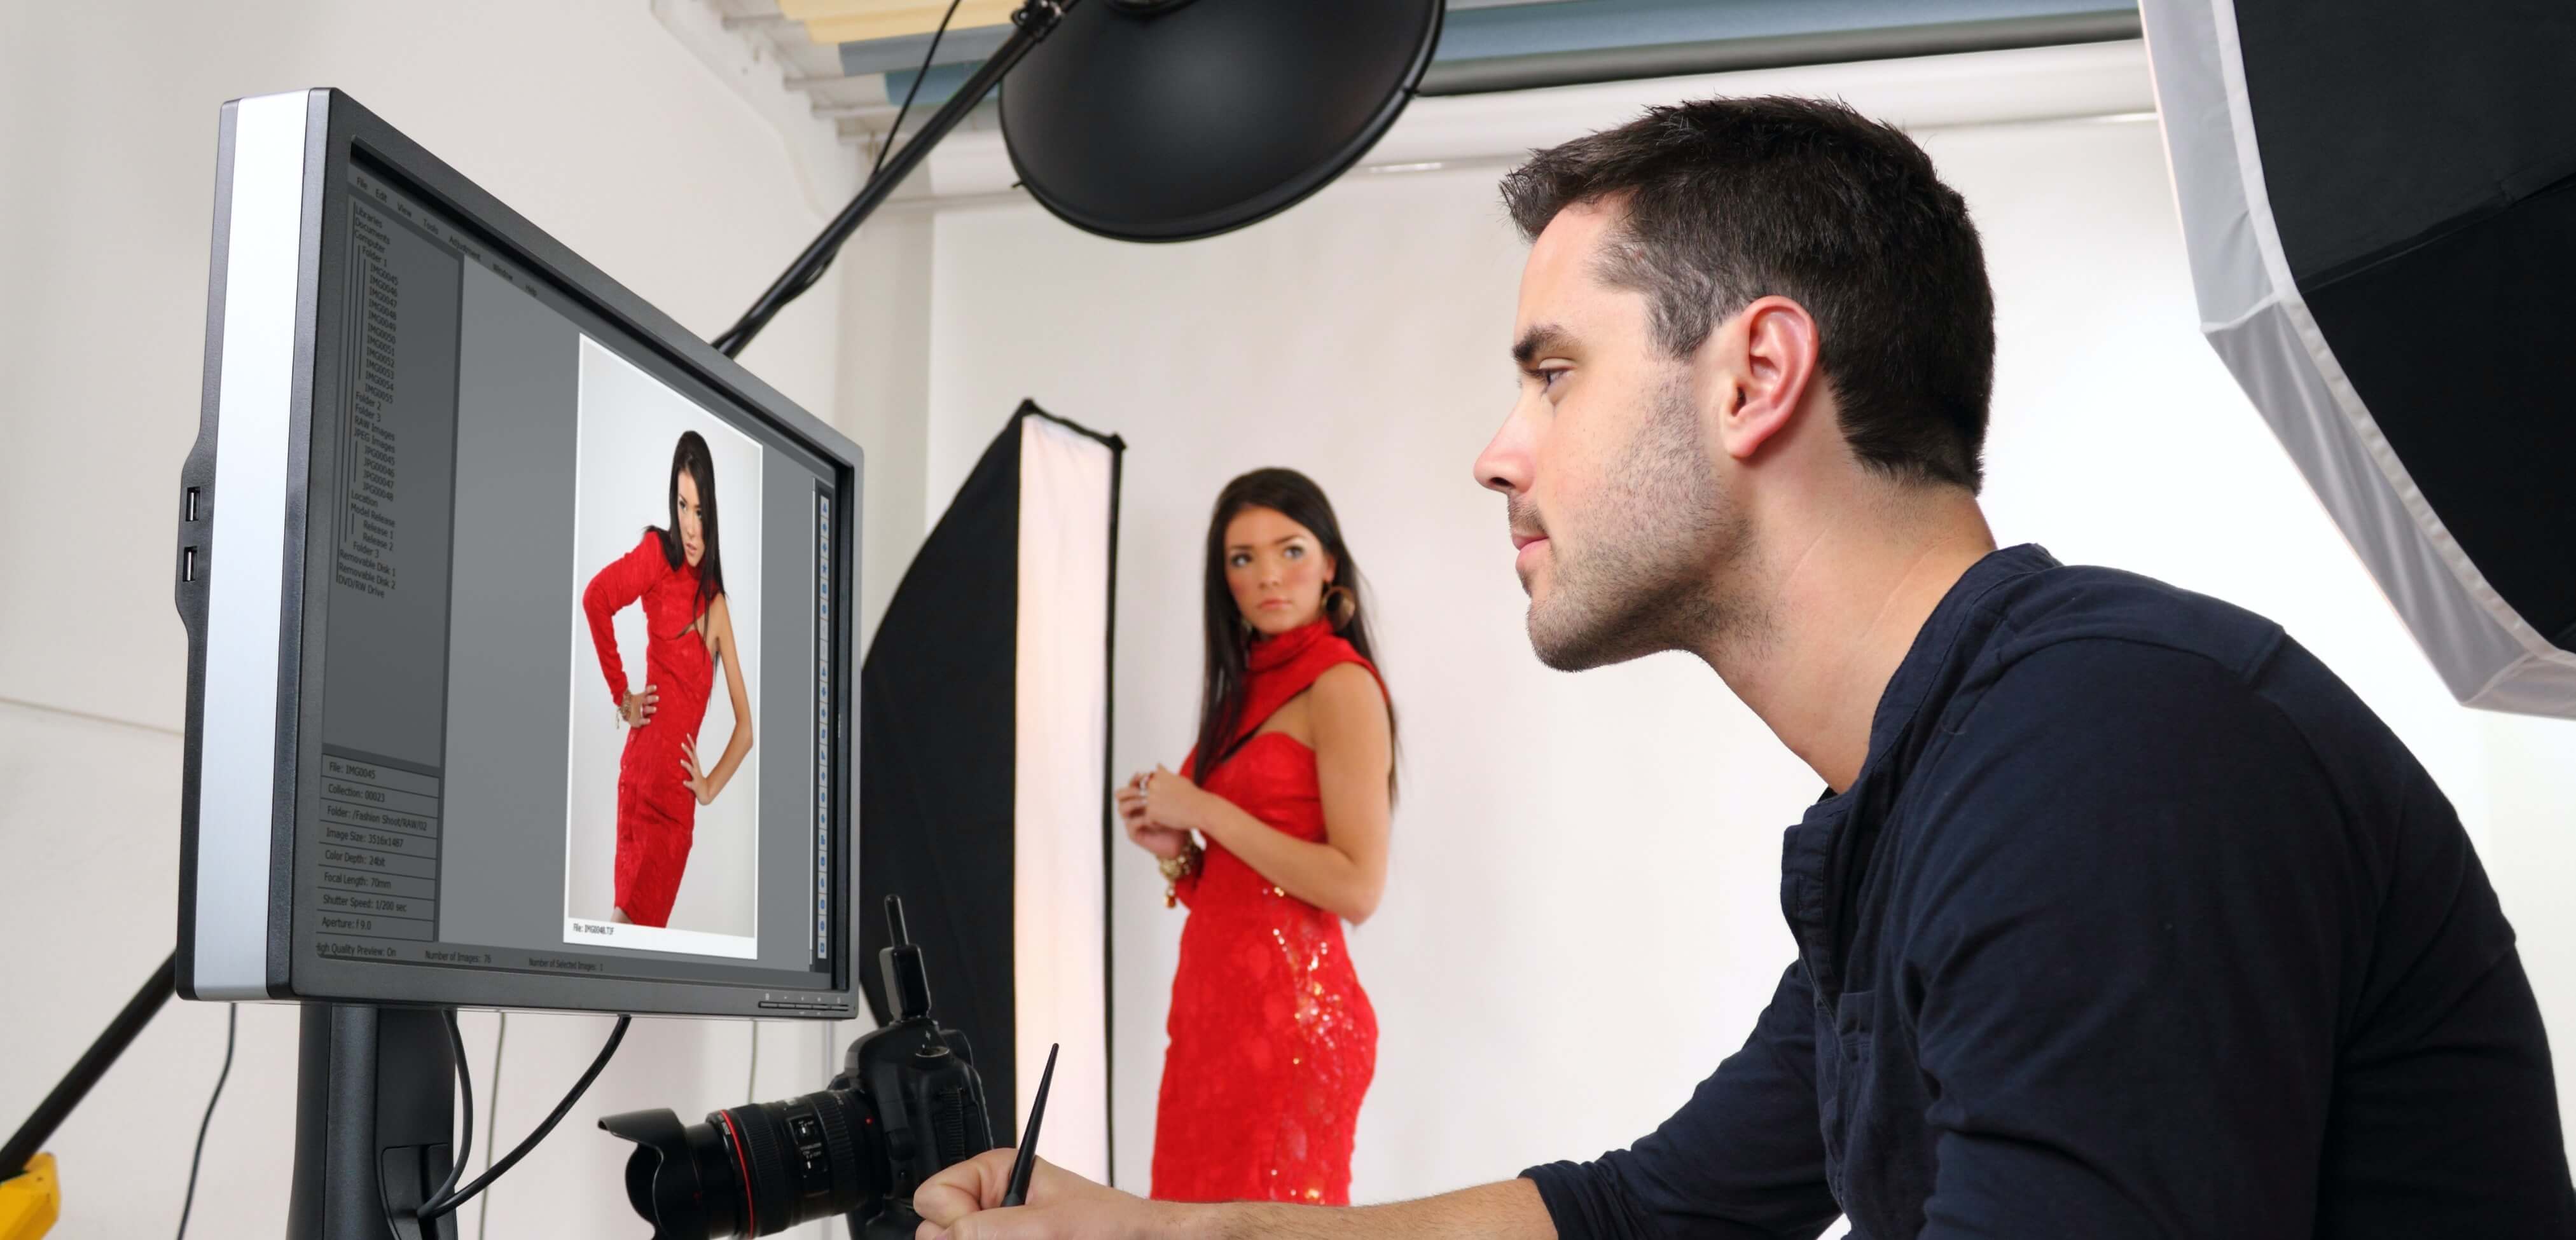
5. Retouch your pictures
Post-production choices on your preferred photo editing software can make a huge difference in your photo. Retouching your pictures will make your photos look more professional and ensure consistent quality, lighting, and positioning across your product photos. Retouching also allows for color correction, removal of unwanted objects and adjustments in lighting.
To learn photo editing, Adobe Photoshop Tutorials are a great place to start. They emphasize Adobe products, but the lessons can apply to other photo editing software besides Adobe Photoshop.
6. Optimize images
Larger images can slow down your site speed. In ecommerce, slow load times on an online store can lose customers. That’s why it’s important to optimize your product images. There are a variety of free tools you can use to reduce an image file size without changing the dimensions of the physical photo, including:
When to Hire a Professional Photographer
If you’ve reached your limitations, you may want to consider hiring a professional product photographer. Start searching for local product photography services. Then run the numbers to compare the cost of getting your own equipment and the time and effort it would take compared to the cost of hiring a professional photographer.
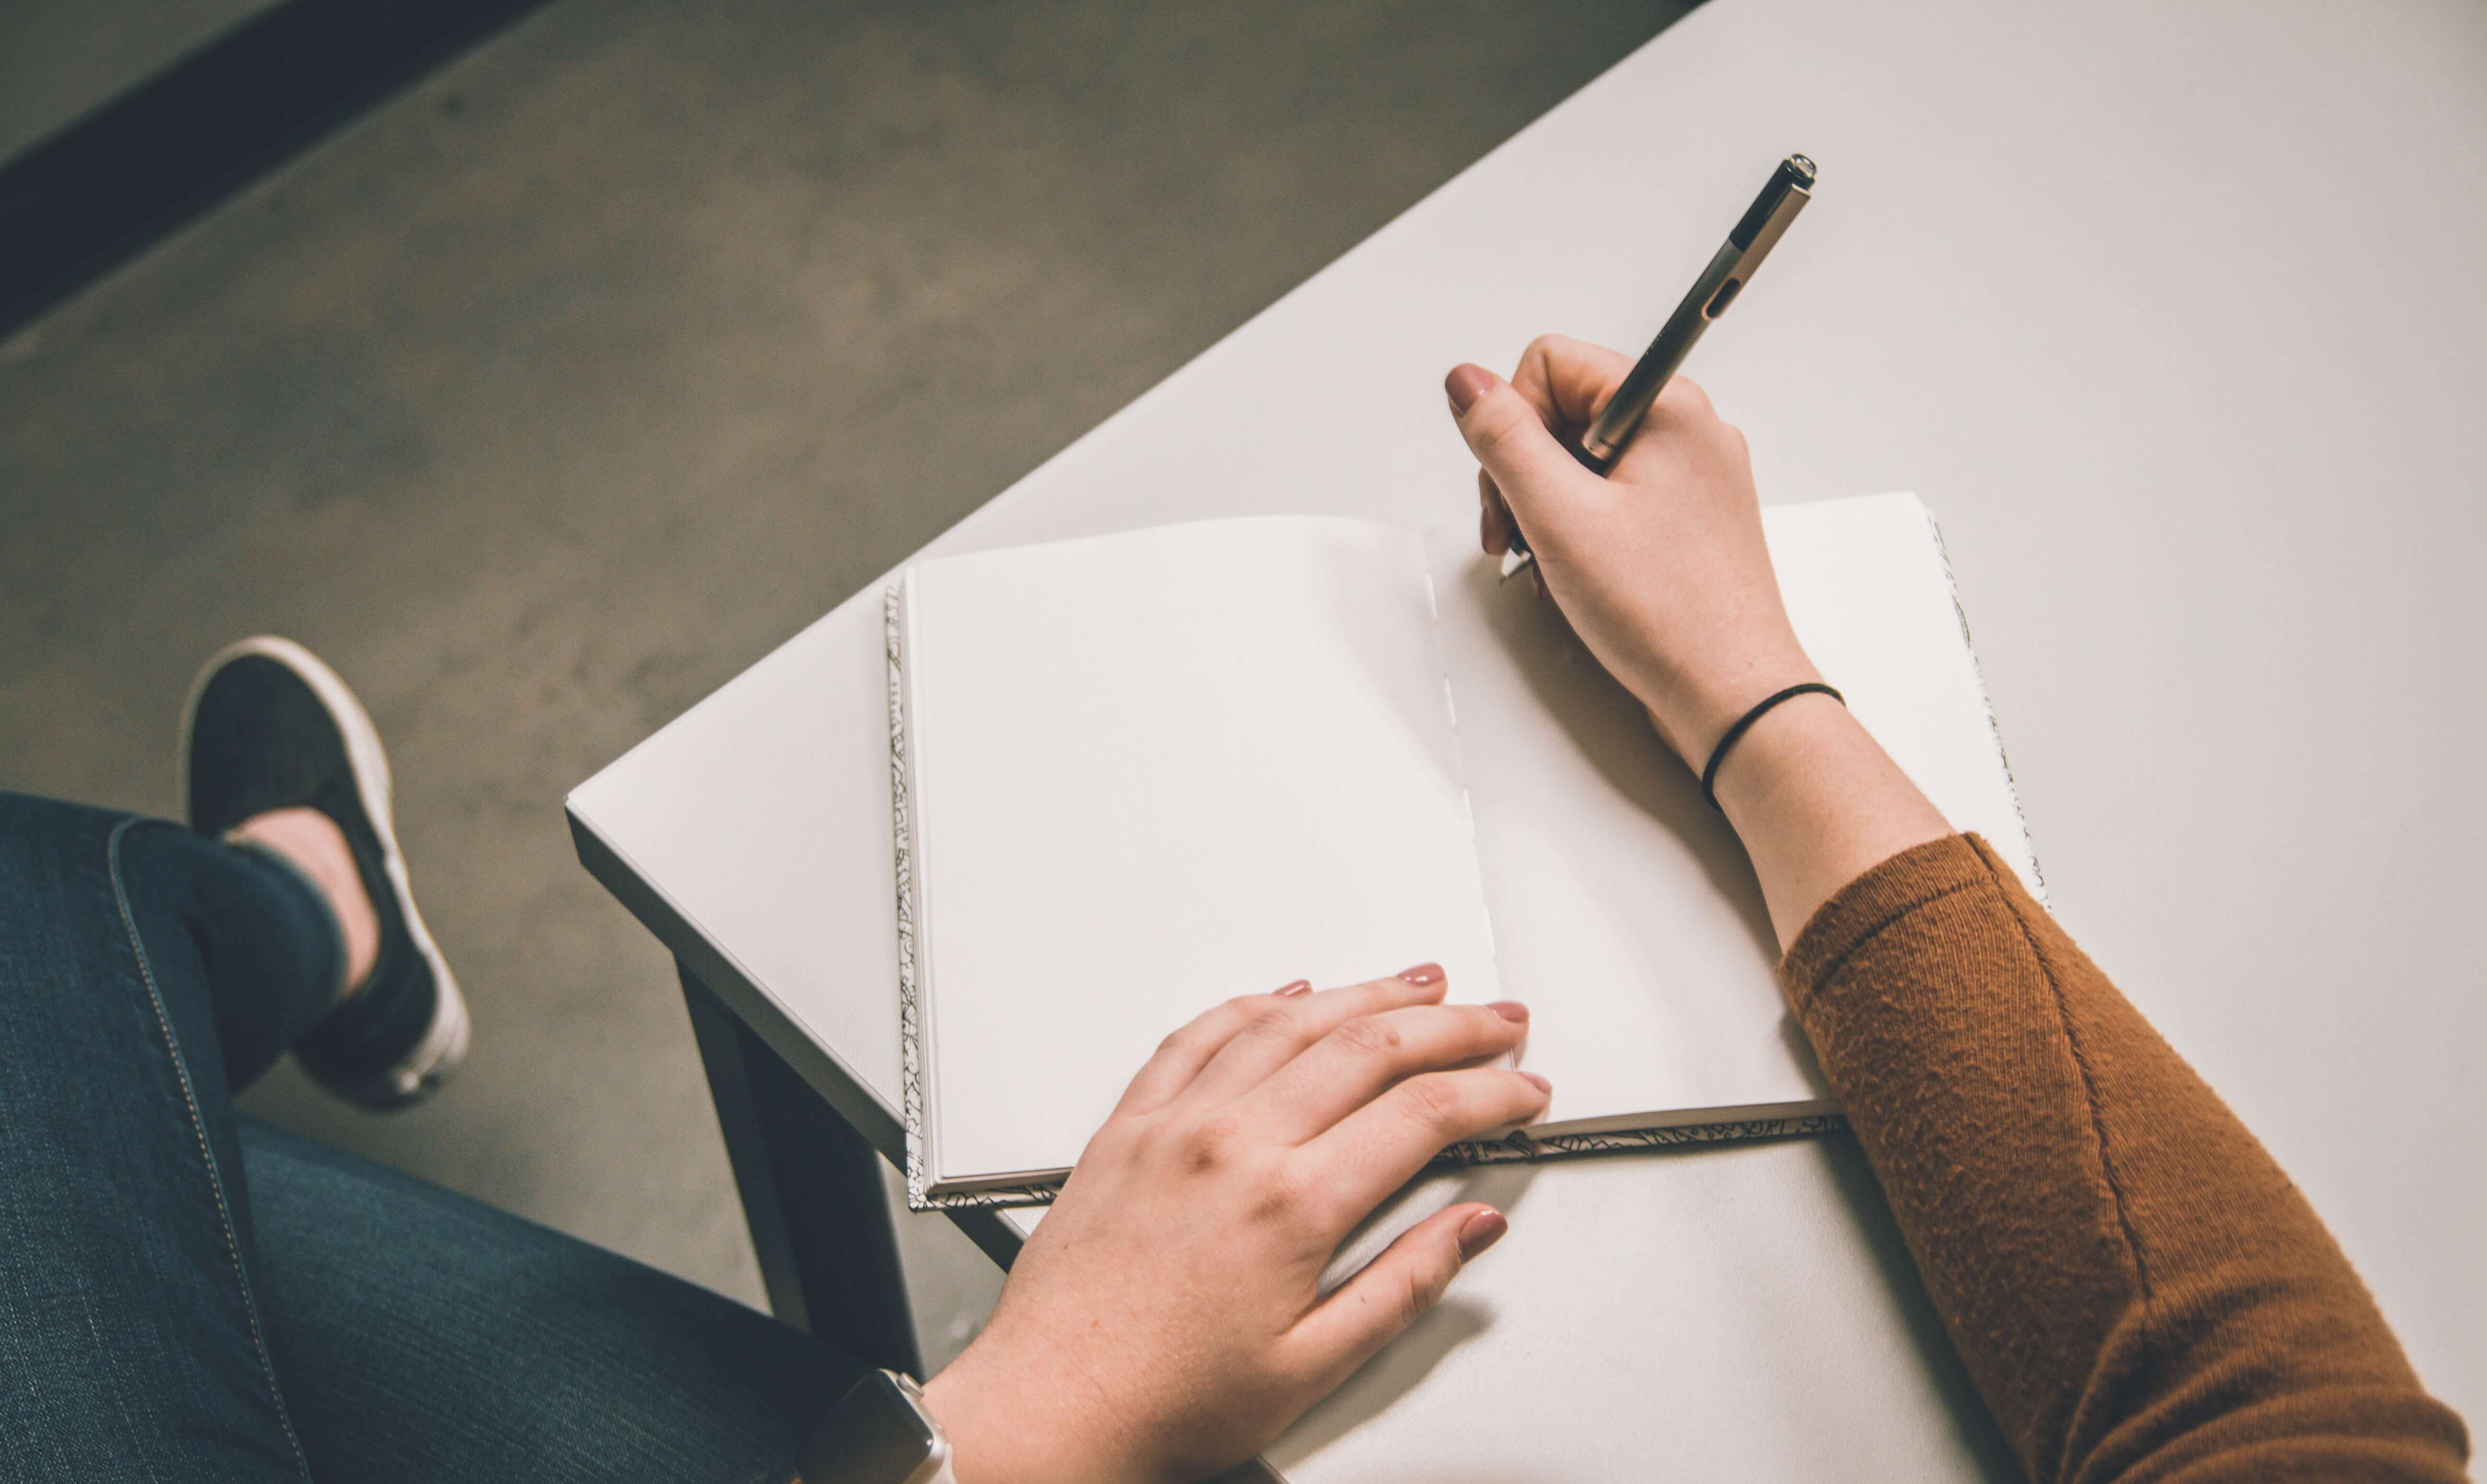
Write Great Product Descriptions
Photos of your products aren’t the only thing high-converting product pages need. Great product photos and great product descriptions on your ecommerce website work together to help customers understand your products and influence purchasing decisions. A product description is the place to go into more detail that wasn’t covered in the product overview. Make sure to answer the following questions in your product descriptions:
- What is the product?
- How does the product solve your problem?
- Why choose this product?
- What is the product made of?
Using Your Product Photos
The best ecommerce websites have beautiful product photos. By being your own product photographer, you’ll have full control over building your brand and showcasing your products. Appealing product photos can increase sales and conversions, which is what every small business wants. If you get good at it, you might even be able to start a side gig as a product photographer for other business owners like you.

How Sav Can Help
Beautiful product photos need a beautiful ecommerce website. We can help you out with that. Start creating with us today!

Recommended articles
How to Make a Media Kit
What is a Media Kit? A media kit, also known as a press kit, is a document that businesses give to journalists and media outlets before an...
Read more
What is Brand Voice? [And How to Create One]
What is Brand Voice? A brand voice is the unique personality a brand takes on in all of its communication channels. And it’s not just about...
Read more
A Beginner's Guide to the Product Development Process
What is Product Development? Product development is the process of creating a new product or updating an existing product from idea to...
Read more