
Image compression reduces the file size of an image without changing the dimensions. This helps websites load faster, get around file size restrictions on email and messaging platforms, and save space on your device. But how do you do it? Here are the options for online tools, Mac, and PC.
Online Tools for Image Compression
With these tools, you can compress images from any device as long as you have an internet connection.
Optimizilla
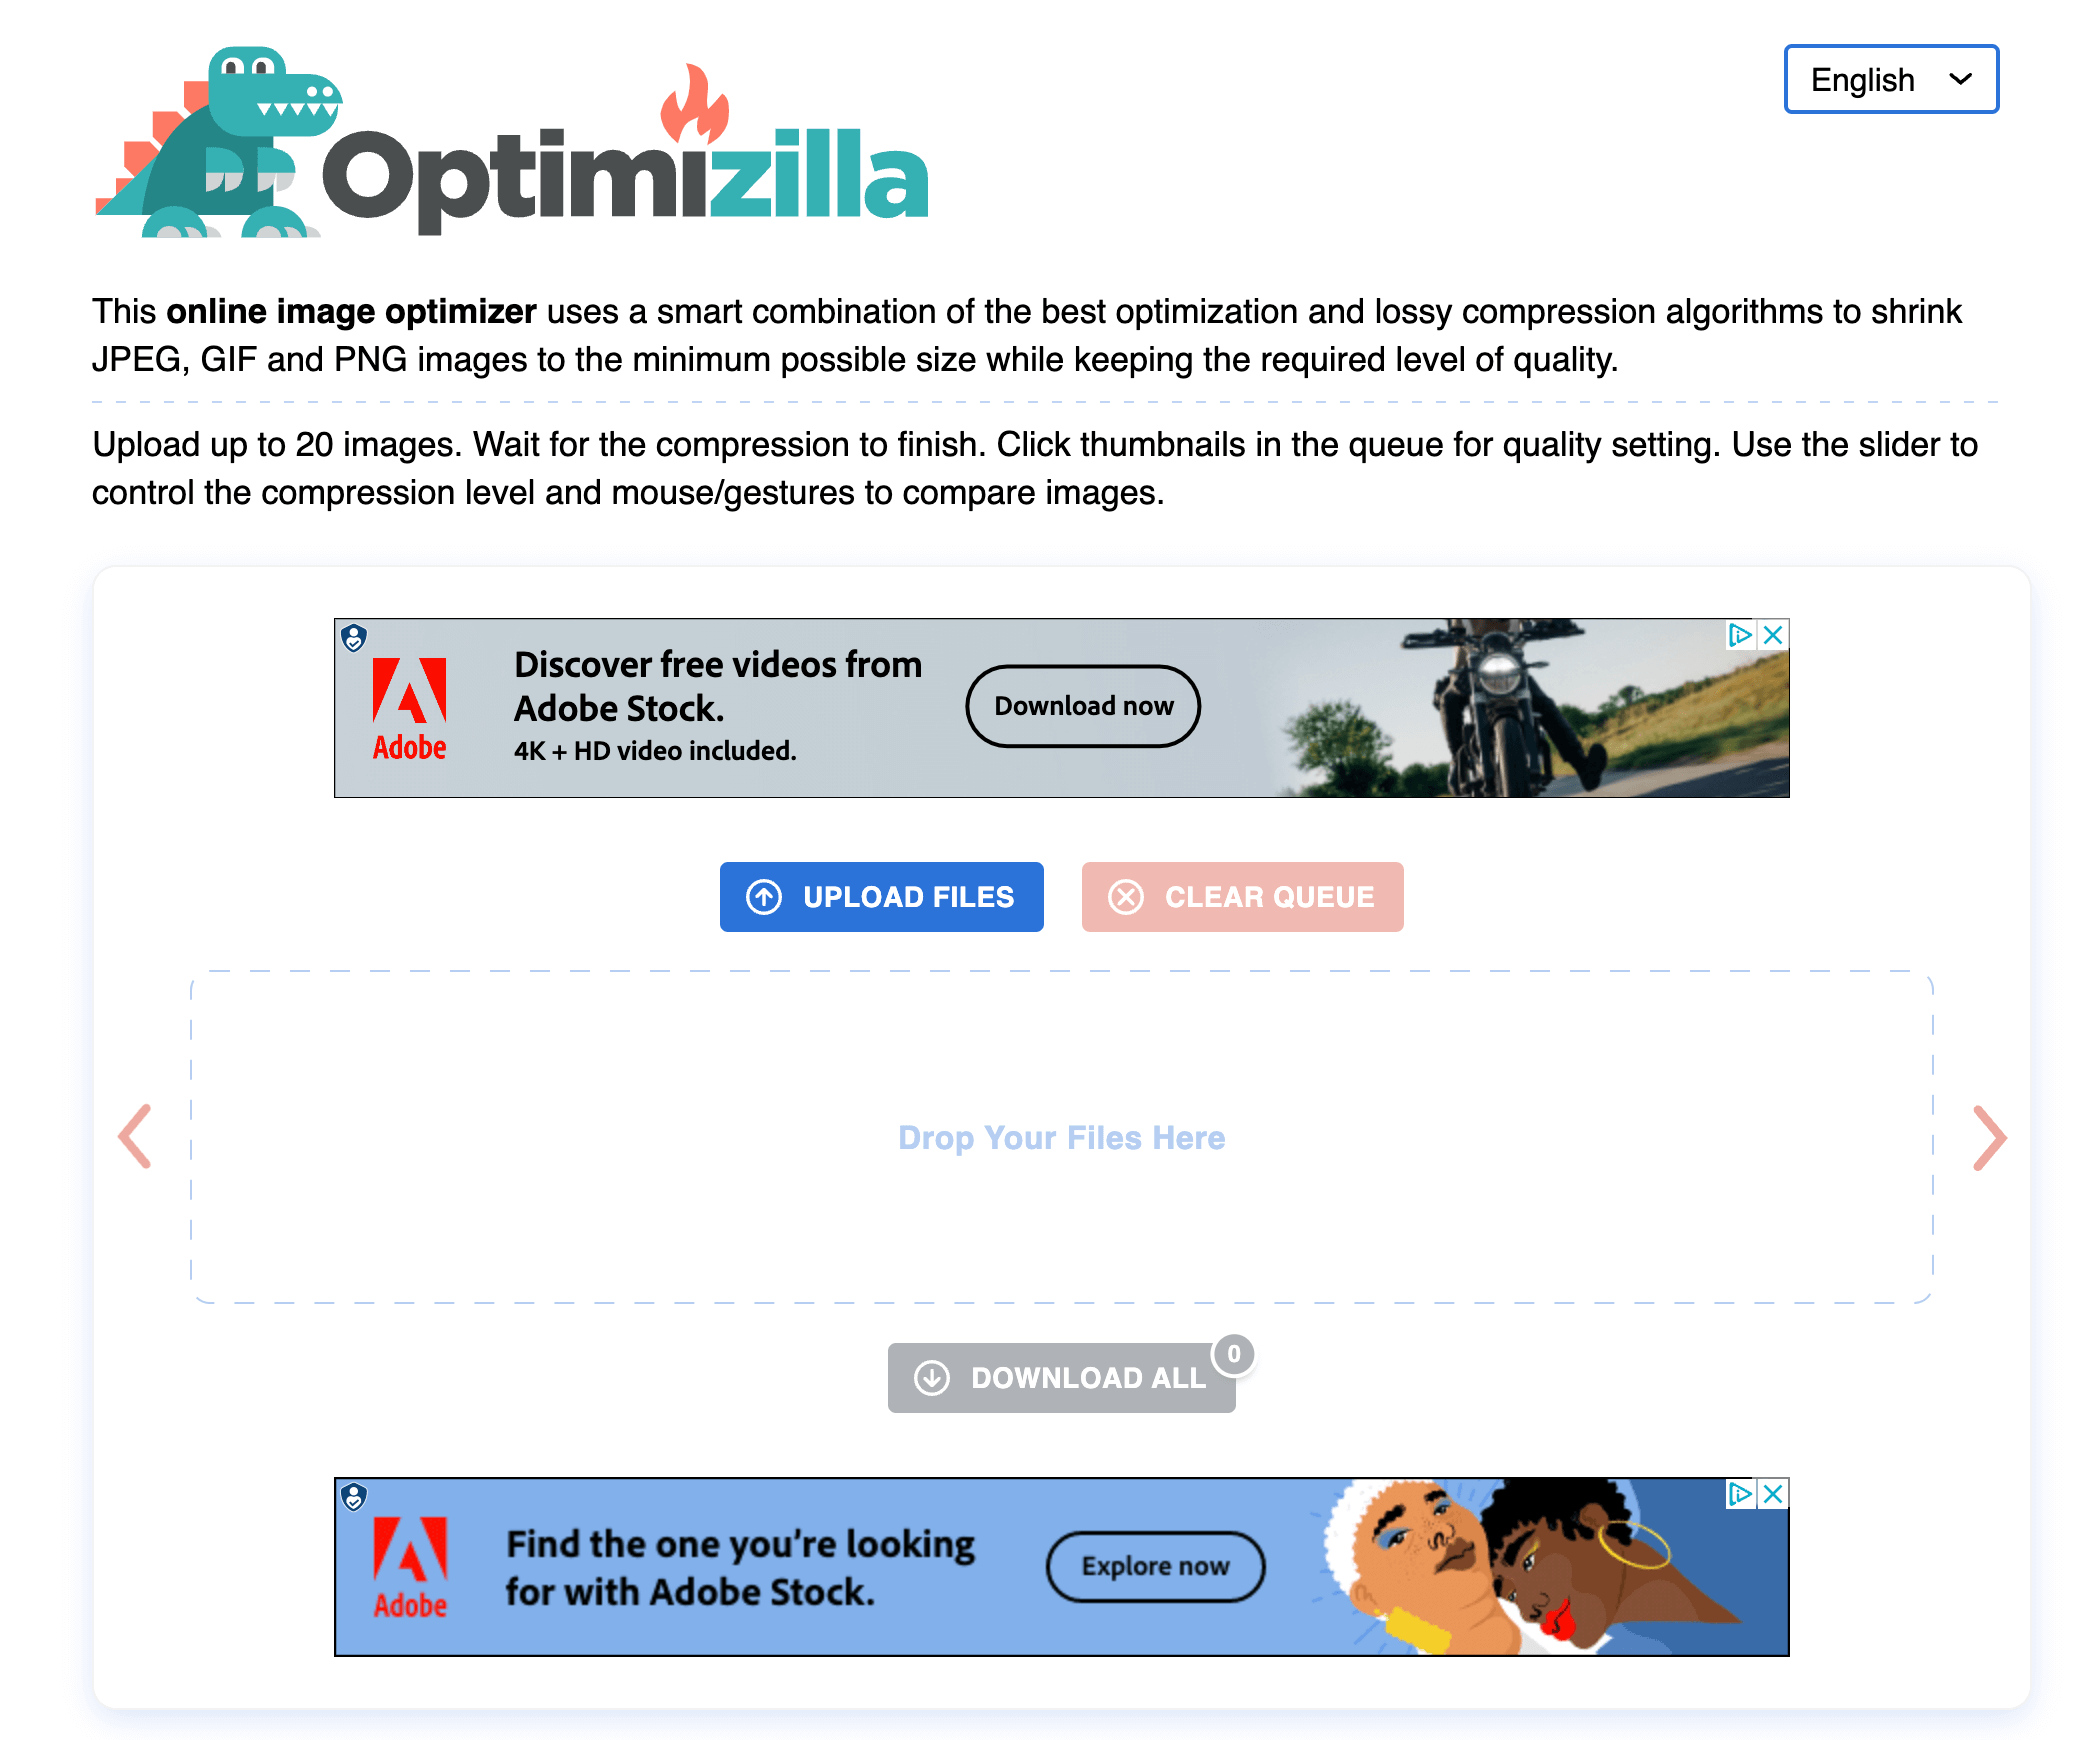
Optimizilla image compressor is a free online tool that can compress up to 20 PNG and JPEG files at the time. It has a before and after slider so you can see how the compressed image quality compares to the original image. To use it:
- Open the image compressor in your web browser
- Click “Upload Files”
- Select the images you wish to upload
- Click “Open”
- Scroll down to view the before and after slider. Drag the quality slider up or down on the right to increase or decrease the compression.
- Select ‘Apply’ when you’ve chosen the compression quality you want
- Click “Download All” to get a ZIP file of all of the compressed photos
TinyPNG
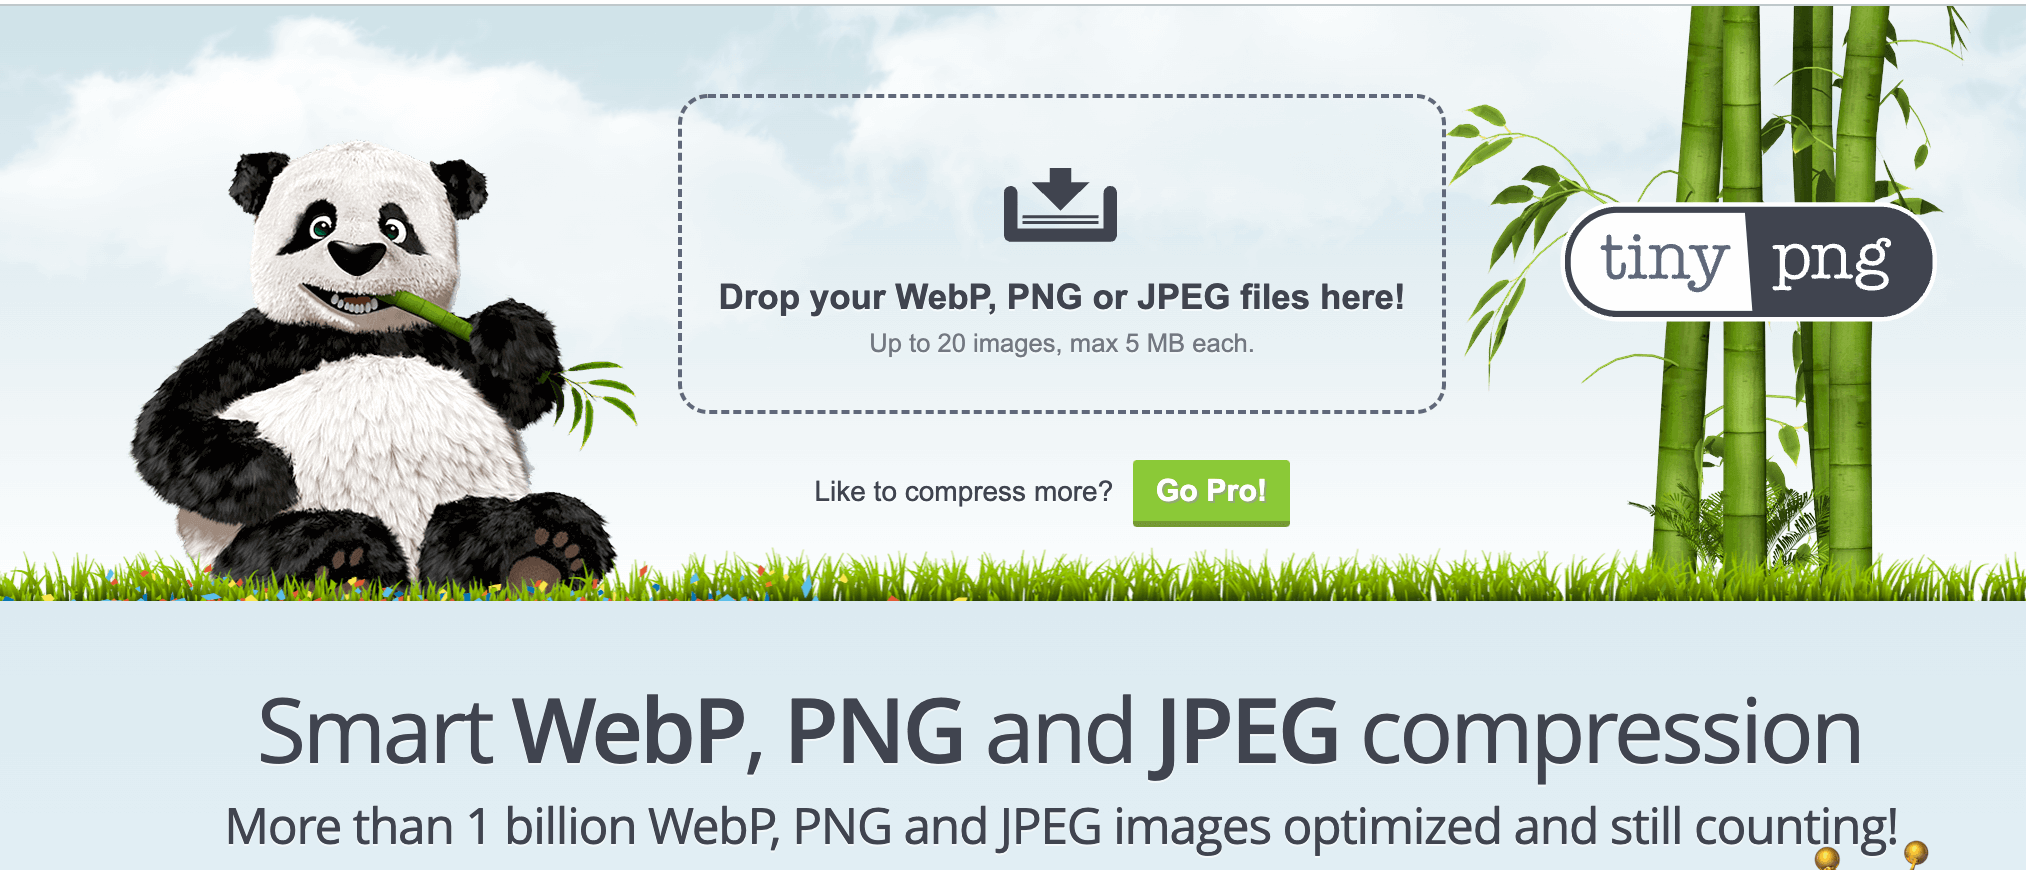
TinyPNG is a popular image optimization tool that compresses JPEG and PNG files. You can compress up to 20 images at the same time on the free version and more on the premium version. The size limit for a single upload is 5MB. To use it:
- Visit TinyPNG in a web browser
- Select the upload icon in the middle to upload your photos
- Upload the photos that you want to compress
- TinyPNG will compress them
- Download the compressed photos. You can do this by clicking “download” next to each image or clicking the “download all” button to get a ZIP file of all of them
Img2Go
Img2Go is an online image compression tool that can compress several image formats including JPG, PNG, GIF, Webp, BMP, WBMP, and more. Users can choose whether to prioritize the quality of the image or smallest size. They can also choose color changes and resize images in pixels. To use it:
- Visit Img2Go on a web browser
- Choose your settings on the left hand side of the screen
- Drop or upload the images you want to compress in the blue field
- Click “Convert”
- Download the image to your device

Image Smaller
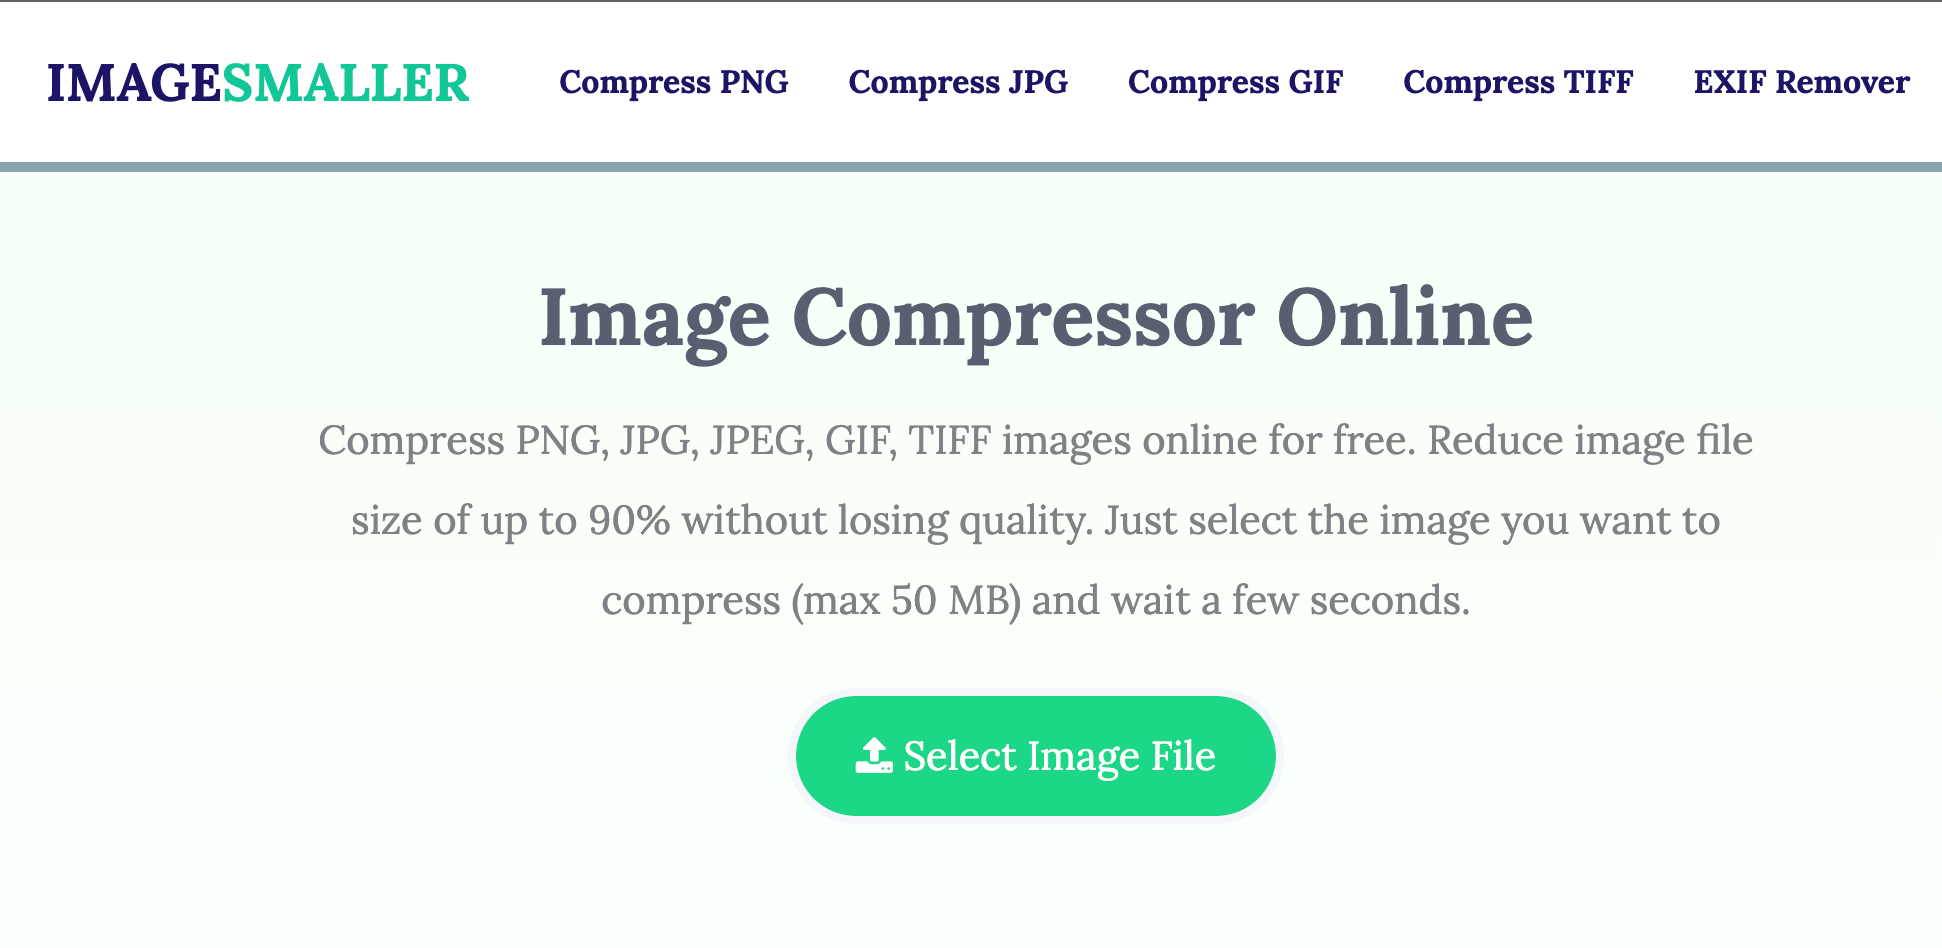
Image Smaller is another free image compression tool that compresses file formats including JPG, PNG, GIF, and TIFF. The size limit for a single upload is 50 MB. To use it:
- Visit Image Smaller site in a web browser
- Click “Select Image File”
- Choose the image or images to compress
- Wait for the site to reduce your image’s size
- When the image is compressed, select Download
Kraken
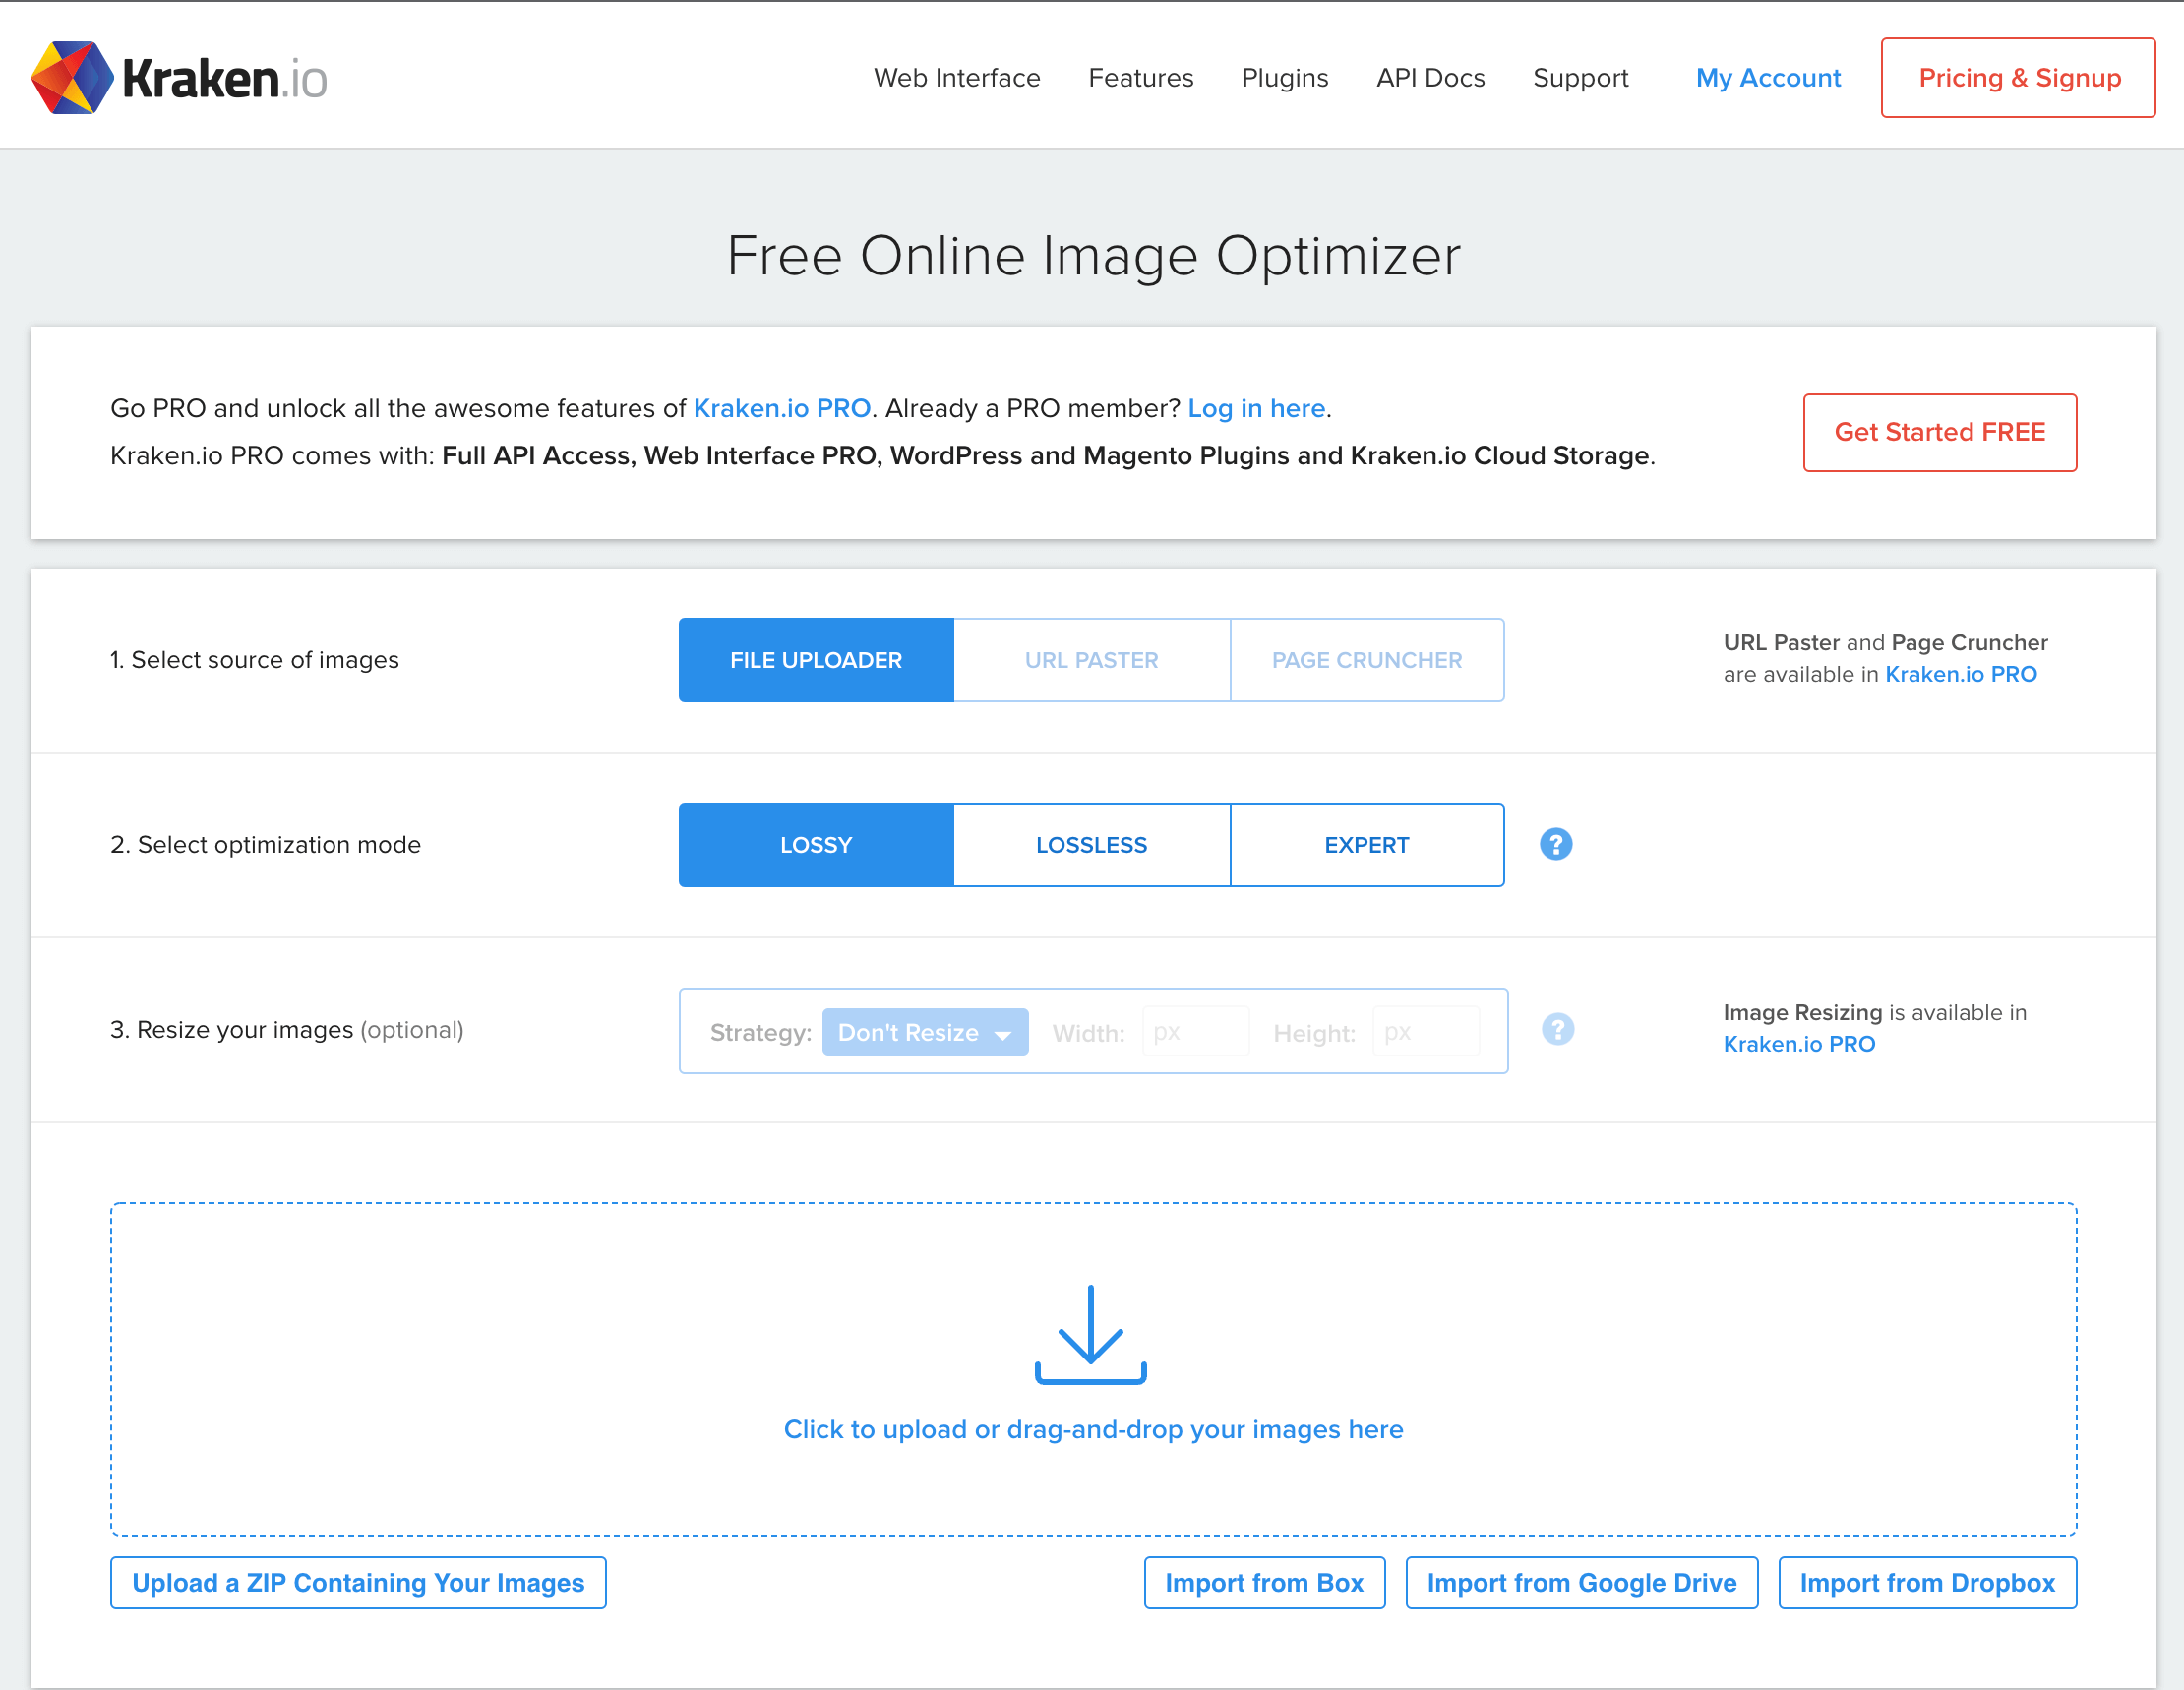
Compressing images is one of the tasks a free Kraken membership allows. To use it:
- Visit Kraken site in a web browser
- From the Select optimization mode section, choose Lossless. This is to ensure your image is resized without too much impact on the image quality.
- Select the upload icon and upload the image you want to compress.
- Kraken will start compressing your image. You’ll see the progress bar at the bottom of the site.
- Click “Download File” to download the image to your device
Shuttershock
Shuttershock is mostly known as a stock photo marketplace, but they also offer an image resizing tool for free. To use it:
- Visit Shutterstock Image Resizer in a web browser
- Click “Upload” and choose the images you’d like to compress
- Click the “Select an Image Size” dropdown menu and choose a new resolution for your photo
- To set custom dimensions, select Custom from the dropdown menu and then enter the custom width and height of the photo in pixels in the given boxes.
- Click Download to save the resized image to your computer.
Adobe Photoshop
One of Photoshop’s many capabilities is selectively reducing the size of images. I wouldn’t get photoshop specifically for this, but if you already use the software, this is how to reduce an image file size on it:
- Launch Adobe Photoshop
- Click “File > Open” and load the photo you want to reduce the size for.
- Once the photo opens, select File > Save for Web from the menu bar.
- Select the dropdown menu just below the “Preset” field and choose JPEG.
- Select the dropdown menu below JPEG and choose Medium.
- At the bottom left of the photo preview, you’ll see the size of your photo with the current settings applied.
- If this file size is still too large, select Low.
- Click “Save” when you’re happy with the file size.
How to Reduce a Photo File Size on Mac
- Open an image
- Click the Picture Tools Format tab
- Click Compress Pictures
- Choose one of these options:
- To compress your pictures for insertion into a document, under Resolution, click Print.
- To compress your pictures for publication on a Web page, under Resolution, click Web.
- To compress your pictures for sending in an e-mail message, under Resolution, click email.
- Click OK, and name and save the compressed image.
How to Compress Photos on PC
Versions Newer Than 2010
- Select the picture you want to compress.
- Click the Picture Tools Format tab, and then click Compress Pictures.
- Do one of the following:
- To compress your pictures for insertion into a document, under Resolution, click Print.
- To compress your pictures for publication on a Web page, under Resolution, click Web.
- To compress your pictures for sending in an email message, under Resolution, click email.
- Click OK, and name and save the compressed picture somewhere you can find it.
Office 2007-2010
- Select the picture you want to compress.
- On the Picture menu, click Compress Pictures.
- Do one of the following:
- To compress your pictures for insertion into a document, under Compress for, click Documents.
- To compress your pictures for publication on a Web page, under Compress for, click Web pages.
- To compress your pictures for sending in an email message, under Compress for, click email messages.
- Click OK.
Resize an Image Using Microsoft Paint
- Open Paint
- Click File in Windows 10 or 8 or on the Paint button Picture of the Paint button in Windows 7/Vista > click Open > select the picture or image you want to resize > then click Open.
- On the Home tab, in the Image group, click Resize.
- In the Resize and Skew dialog box, select the Maintain aspect ratio check box so that the resized image will have the same aspect ratio as the original picture.
- If the Maintain aspect ratio check box is selected, you only need to enter the horizontal value (width) or vertical value (height). The other box in the Resize area is updated automatically.
- Do one of the following in the Resize area
- To resize your picture by a certain percentage, click Percentage, and then enter a percentage to reduce the width by in the Horizontal box, or a percentage to reduce the height by in the Vertical box.
- To resize the picture so it's a specific size, click Pixels, and then enter a new width in the Horizontal box, or new height in the Vertical box.
- Click File in Windows 10 or 8 or the Paint button Picture of the Paint button in Windows 7/Vista > point to Save as > then click the picture file type for the resized image.
- Type a new file name in the File name box, and then click Save.
How to Remove an Image’s Metadata
Another way to reduce an image file size is to remove the metadata, also known as EXIF data, attached to the image. This data could include location, time, device model it was taken on, settings used to take the photo, and more. Removing metadata from images also has security benefits.
iOS
- Download and install the ViewExif app from the App Store.
- Open the app and you will see a prompt to allow ViewExif to access your photos. You can choose to allow it to access all photos or just those you select.
- If you choose the latter, you will be directed to your photos where you can select the ones you wish to edit.
- Once you’ve selected your photos or albums, hit Done.
- Now select the photo you wish to edit.
- Select the eraser tool and hit Remove Metadata.
- You’ll see a prompt requesting permission for the app to modify the photo. Select Modify and the metadata will be removed.
PC
- Right-click the image for which you want to reduce the file size and choose Properties.
- Select the Details tab in the Properties window.
- At the bottom of the Details tab, select Remove Properties and Personal Information.
- On the following screen, choose Create a copy with all possible properties removed and select OK at the bottom.
- Windows will create a copy of your image in the same folder as the original image. This copied version of your image has all the metadata removed from it.
Android
- Download and install the Photo Metadata Remover app on your device.
- Open the app and you’ll see a few options: Choose Photos, Choose a Folder, or Take a Photo. To remove metadata from a single photo already in your library, select Choose Photos.
- You’ll be asked to give the app permission to access your photos. Hit Allow.
- Select the photo you wish to scrub and the app will automatically remove the metadata and let you know when the process is complete.
- You then have the option to hit Share the Image to send your photo using a different app, or simply select Done.

How to Reduce a PDF File Size
If you have the original document and a scanner, you can:
- Re-scan the document at lower resolution
- Re-scan the document in parts
- Scan each page of a multiple page document as an image, save each image as its own file, and then use the Create PDF tool to link these image files together in one PDF document.
How Sav Can Help
Creating a beautiful website is about more than keeping your images small. We’re here to make it easy to buy a domain, build a website, and promote your website to the masses. Start building today to learn more.

Recommended articles
How to Make a Media Kit
What is a Media Kit? A media kit, also known as a press kit, is a document that businesses give to journalists and media outlets before an...
Read more
What is Brand Voice? [And How to Create One]
What is Brand Voice? A brand voice is the unique personality a brand takes on in all of its communication channels. And it’s not just about...
Read more
A Beginner's Guide to the Product Development Process
What is Product Development? Product development is the process of creating a new product or updating an existing product from idea to...
Read more