What is Product Packaging?
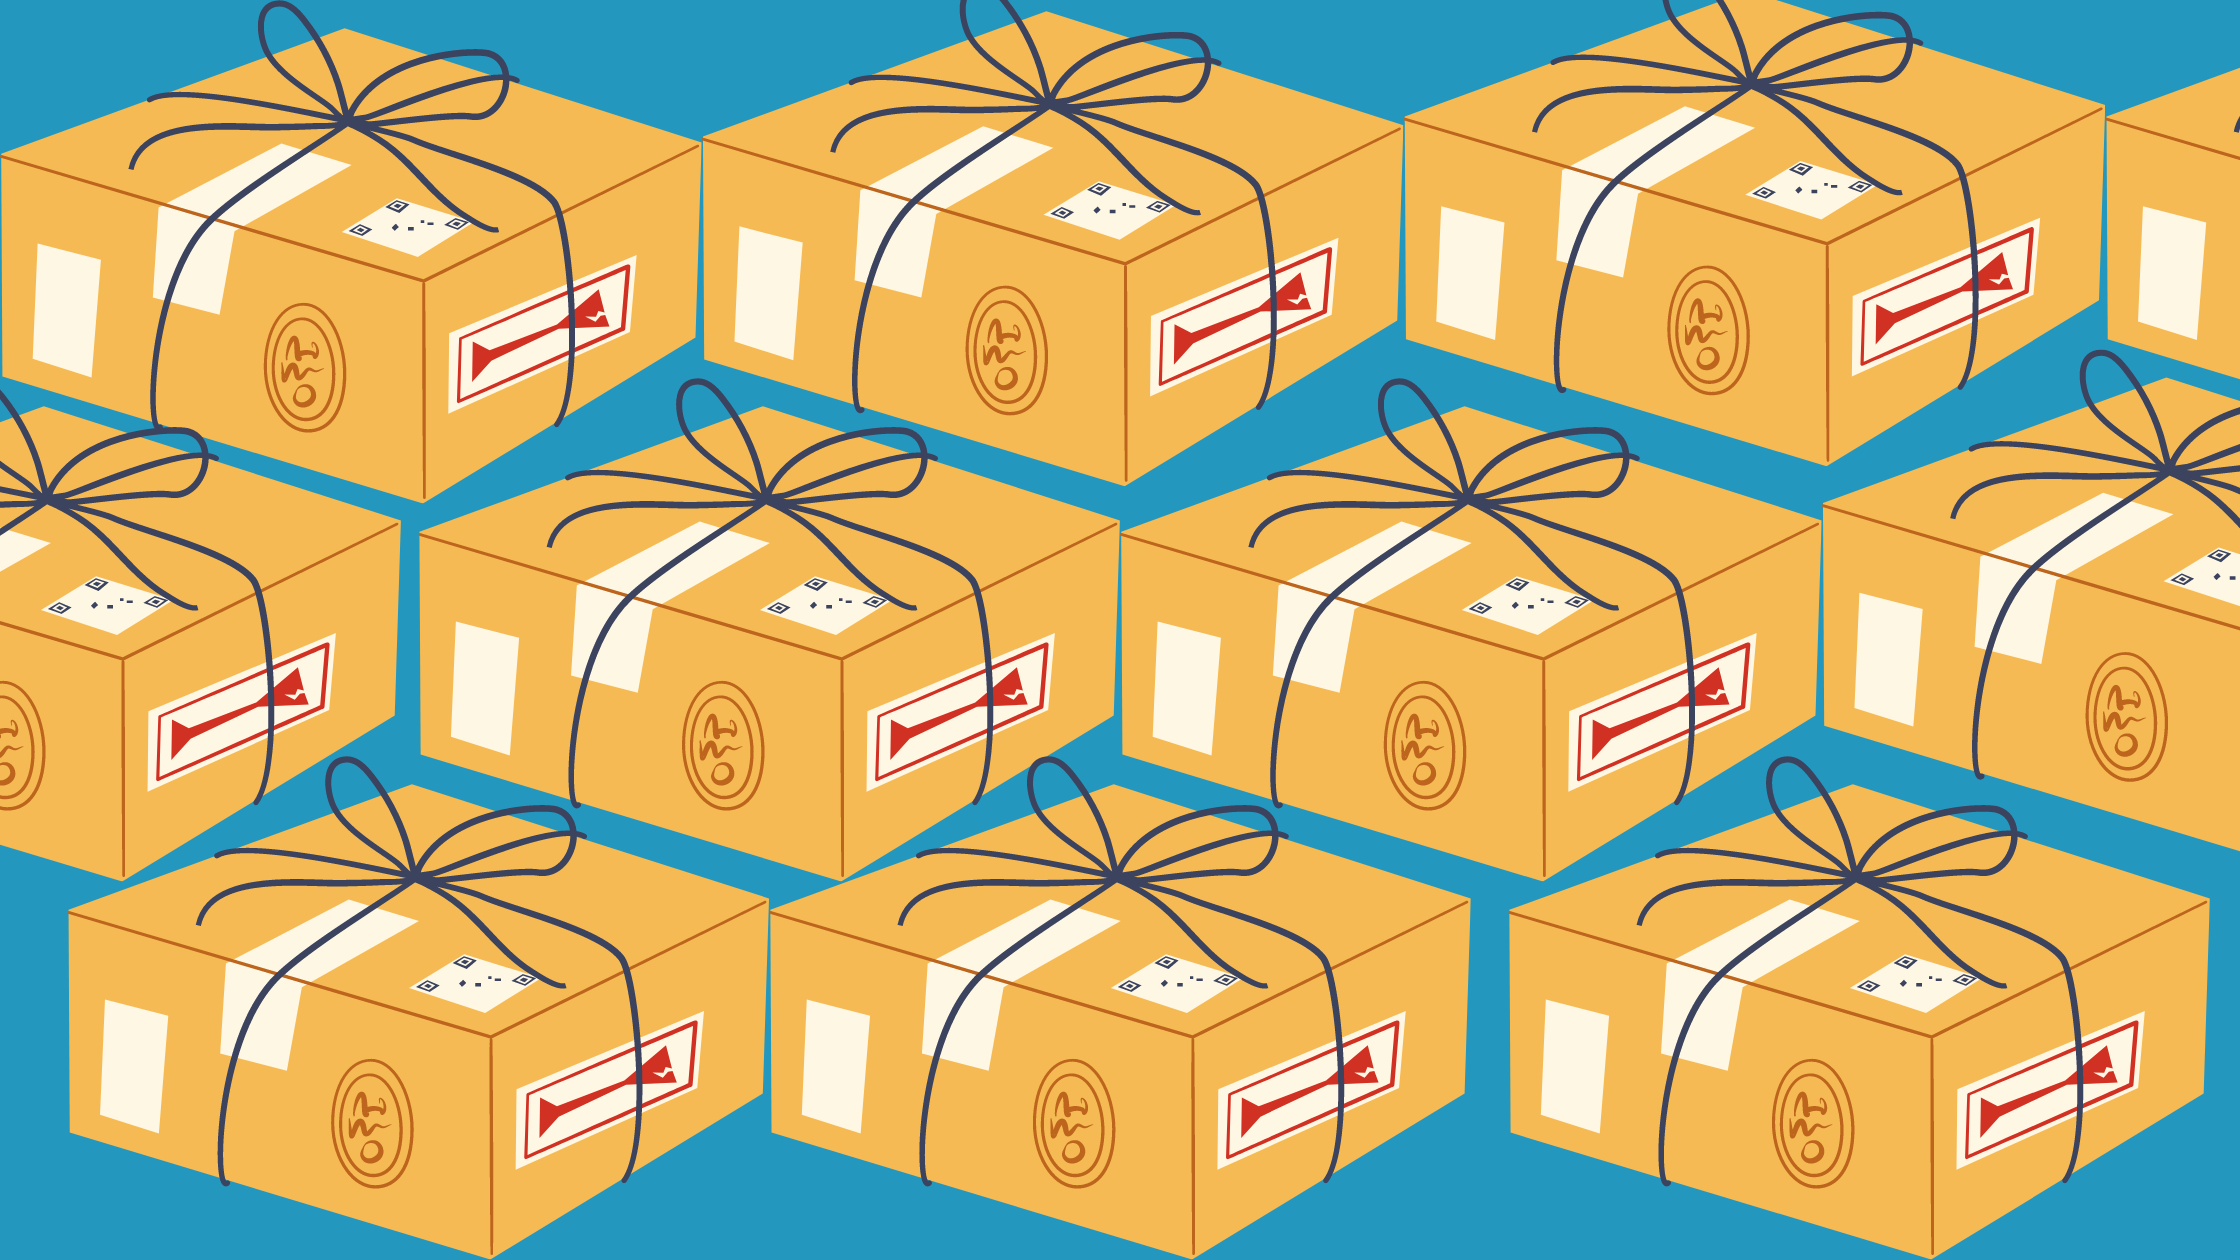
Product packaging is the process of designing and producing a container for your products. This process includes thoughtful selection of shipping and type of packaging materials in addition to the way you choose to present your shipped products. Branded packaging can be an eye-catching part of the customer experience by creating a positive first impression of your brand identity.
Why Does Product Design Matter?
Since online stores have fewer touch points than in-person retail, every part of your brand experience is an opportunity to set yourself apart from your competitors.
Online retailers, especially small businesses, have come to see their packaging as an extension of their branding by creating cool, brand-consistent custom boxes, bags, package lining, labels, and stickers. In recent years, influencers have captured and shared videos of the unboxing experience to promote brands they partner with. If that kind of marketing is appealing to you, you’ll need to create the most unique, best packaging you can.
Before You Start
There are a few things you’ll need to think about before you start designing your packaging. For example, you’ll need to know the dimensions of the product to get a box that’s big enough. Retail packaging and e-commerce packaging have different needs. You’ll need to know or choose a color palette for the graphic design.
Questions to Consider
- What is the product?
- How big is it
- What is it made of
- Is it fragile?
- Who’s buying the product?
- Age
- Gender
- Income
- Other demographics and customer persona traits
- How are people buying the product?
- Online or in-person?
- What else is in the store?
- Does it need to be shipped?
.png?width=1600&name=Question%20Marks%20(1).png)
Information you need
If your packaging needs to be consistent with pre-established branding, you’ll need to know your brand’s:
- Colors
- Fonts
- Logo
- Written copy
- Imagery
- Style
- Budget
.png?width=1600&name=Clipboards%20(1).png)
The Packaging Design Process
1. Understand packaging layers
There are three packaging layers:
- outer packaging
- inner packaging
- product packaging
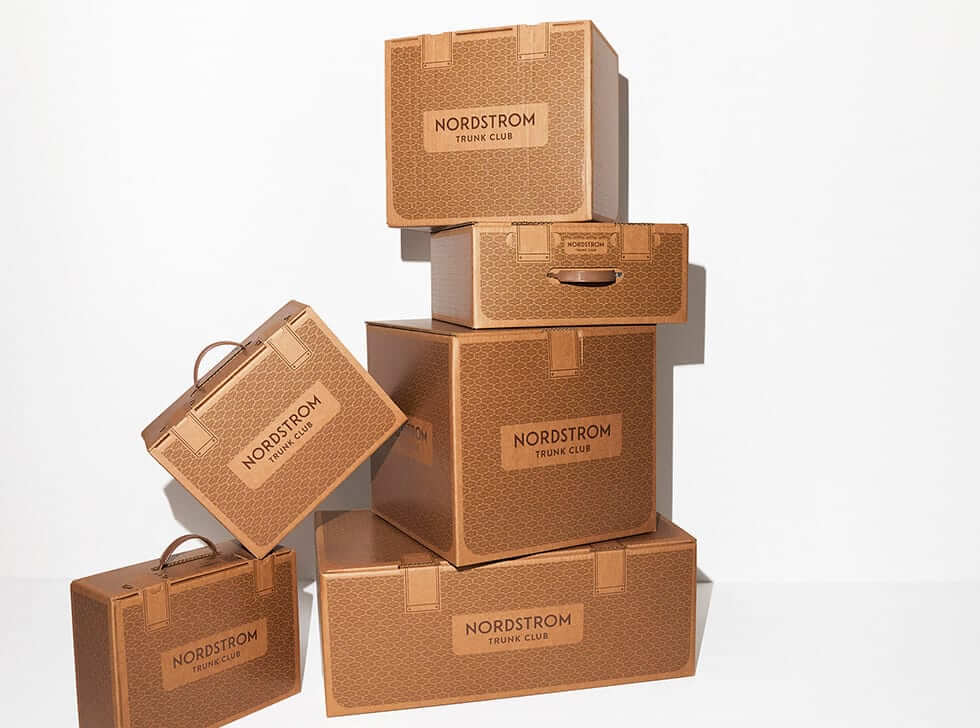
Outer packaging
Outer packaging is the first container a customer sees. It protects your product from the elements. This could be a corrugated cardboard box for shipping, a paper bag from the store, et cetera. For example, these are Trunk Club's outer packaging.
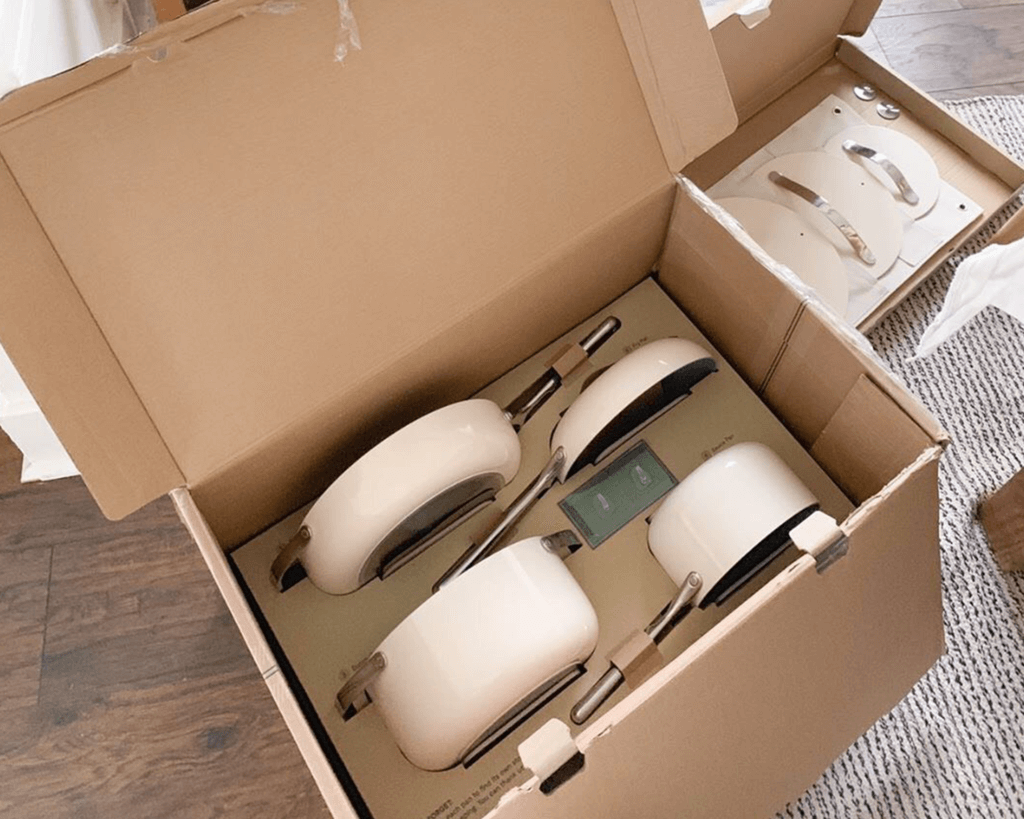
Inner packaging
Inner packaging is what keeps your product nestled safely in the outer packaging. Some examples of inner packaging include packing peanuts, tissue paper, and a sealed bag to preserve freshness. For example, this is Caraway Home's inner packaging.
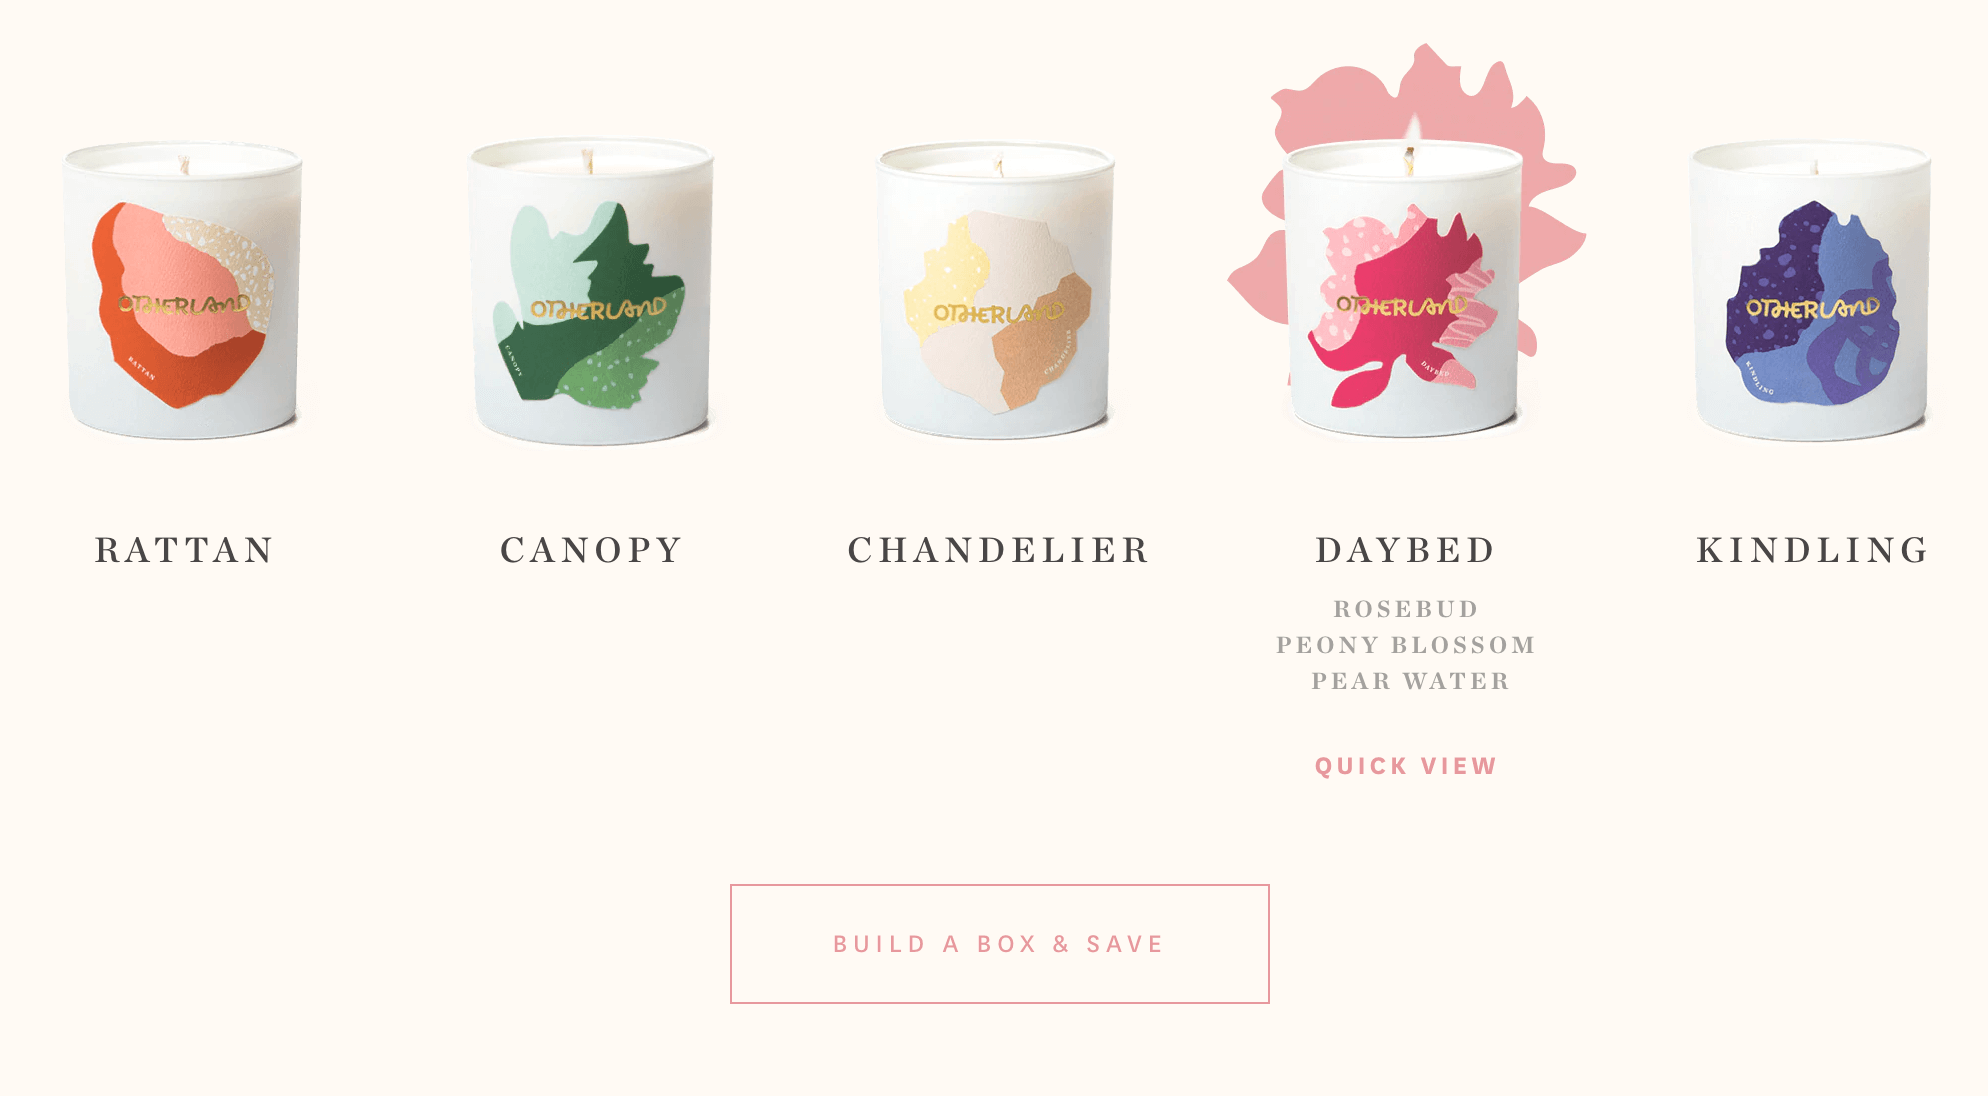
Product packaging
Product packaging is the packaging that is closest to the product. When you open up the shipping box, the final packaging the product is in. Other examples include candy bar wrappers or bottles with product labels. Here are some examples of Otherland's product packaging.
2. Choose the right type of packaging
The containers and layers you choose should be appropriate for your product, competition, and budget.
The product
The item in the package will determine what type of container it goes in. If it’s fragile, you need to keep it protected. If it’s liquid, the container needs to be water-tight. If you’re shipping food products, you’ll need a way to keep them at the right temperature.
The competition
Depending on the product, you might want to stick to what everyone else does or you might try something else to set yourself apart.
The budget
Money is going to affect how far outside the box you can go with your custom packaging. It may look cool to sell your energy drink in a bottle shaped like a football or your necklaces in octagon-shaped cartons, but those things cost more money than standard versions of those containers with your designs printed on them.

3. Line up your printer
It’s better to hire your printer before you complete your designs. Not only will connecting with a printer early on ensure that you know the costs of printing, but they’ll be able to give you specific information that can help your designer prepare files that fit their requirements like.
Dielines
Dielines are The flattened pattern of your product packaging. If you’re going with a standard-sized box or label, printers should be able to provide dieline templates.
File-format requirements
Your printer will need a vector file. Be sure to ask about these specifications:
- Should it be a layered file?
- Should it include cut-lines?
- What type of file should it be (the typical options are Adobe Illustrator (.ai), Photoshop (.psd), PDF, and EPS).
Color options
Some printers can color-match to any Pantone color. Others are going to have a limited color palette for you to work with.
Digital vs. offset printing
Which type does your printer use? If they do offset, what is the minimum order number? How do the costs scale?
4. Create your information architecture
The product information architecture is the guide to your packaging.
While you’re creating it, ask yourself: what is the one thing you want a shopper to remember about your product from your packaging? This one thing should be the centerpiece of your design. Then add two or three things you want to show once they’ve picked up your product or clicked on your link.
5. Evaluate the packaging design
Once your packaging design is finished, consider the following questions:
- Is it clear what your product is?
- Is the packaging an honest representation of your product
- What will this package look like in 3D?
- What will this package look like in stores?
- How much of the packaging will be visible?
- What will it look like when these products are stacked next to and on top of each other?
- What will this look like compared to the competition?
- Is this design versatile?
- Is your packaging reusable?

6. Collect feedback
Before you send your packaging design to the printer, make sure to run it by both key stakeholders and people who have never heard of or used your product.
For the people who are unfamiliar, show them the packaging and consider asking them:
- What does this product do?
- Who is supposed to buy this product?
- What is the one key message you get when you look at this packaging?
7. Send them to the printer
Be sure to send
- Vector files in the right formats
- Dielines
- Color codes
 Resources for Branded Packaging
Custom packaging has a lot of moving parts. Here are a few suggestions of packaging supply sources:
Packaging Boxes
- Fantastapack
- Arka
- Custom Boxes Now
- Any Box Today
- Refine Packaging
- Inke (Australia)
- InstaBox (Canada)
Tissue
Mailer Boxes and Envelopes
Stickers
Promotional Material
How Sav Can Help
No matter what your packaging looks like, a beautiful, professional website will get it into more people’s homes. We make creating one easy and affordable so you can focus on running your business. Start growing with us today!
